Ozbilt's last build for a client
Moderator: Moderators

Re: Ozbilt's last build for a client
Harsh...
'68 J-code GT Fastback
'67 S-code GT coupe, 'Pink Bitz' formerly known as 'Hookin' up a brother'
'69 M_____ GTS Fastback 'Blasted'
'67 S-code GT coupe, 'Pink Bitz' formerly known as 'Hookin' up a brother'
'69 M_____ GTS Fastback 'Blasted'

Re: Ozbilt's last build for a client
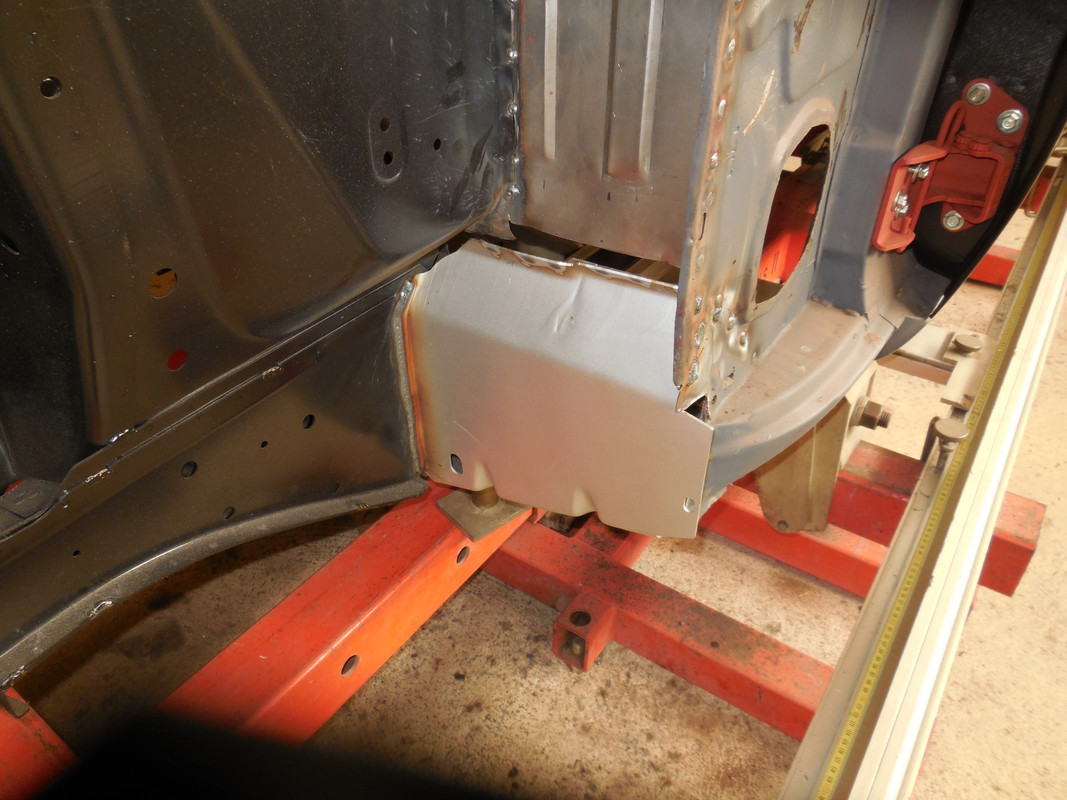
Now the front is in place, I can install the torque boxes to attach the rails to the rocker panels. Then complete the welding of the radiator support & skirts to the firewall .......
Kerry
To our wives and sweethearts. May they never meet
To our wives and sweethearts. May they never meet
Re: Ozbilt's last build for a client
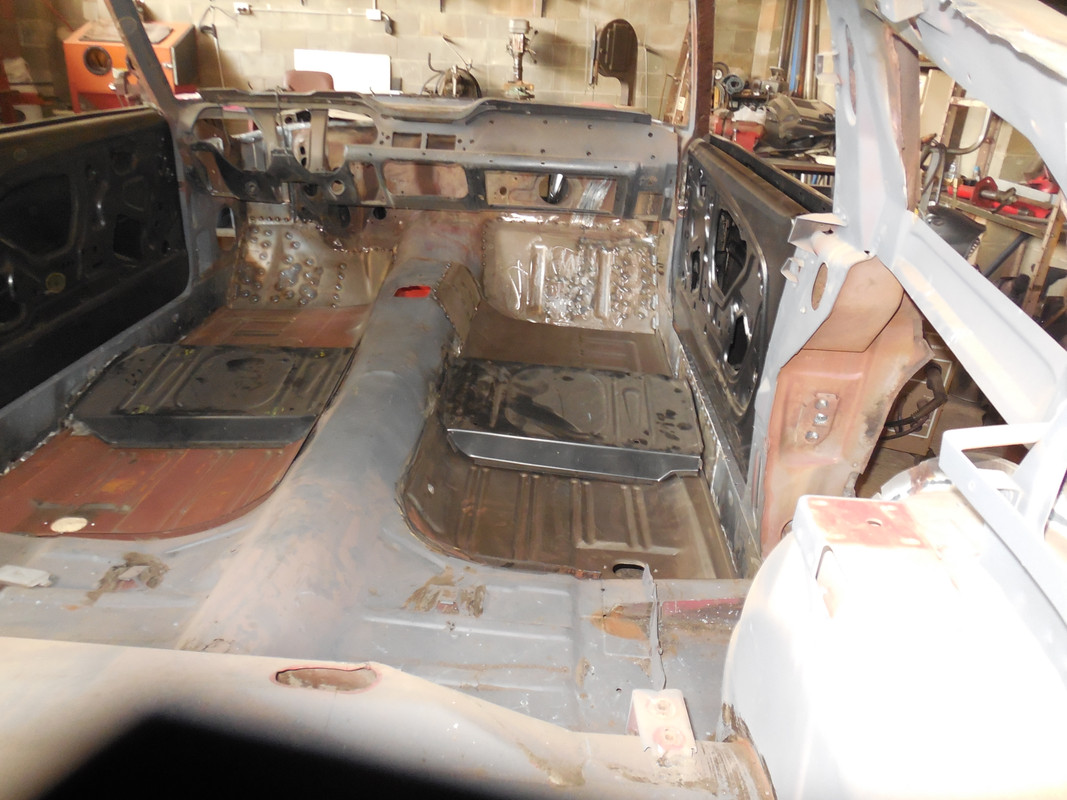
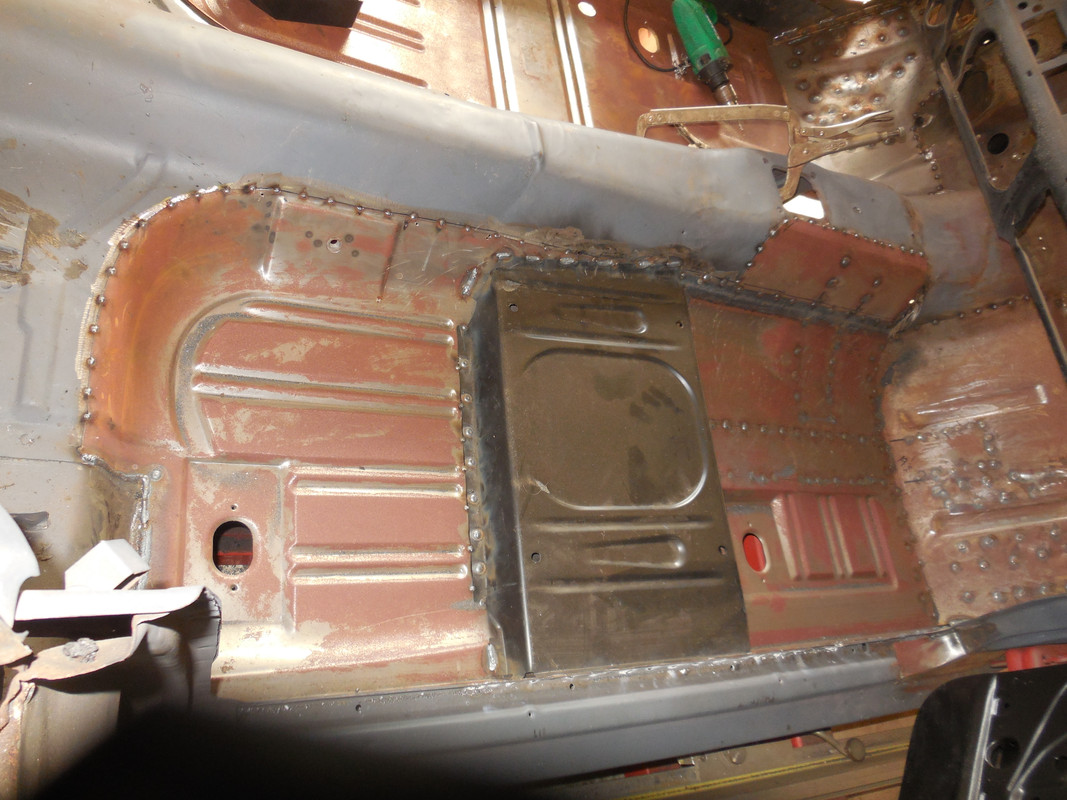
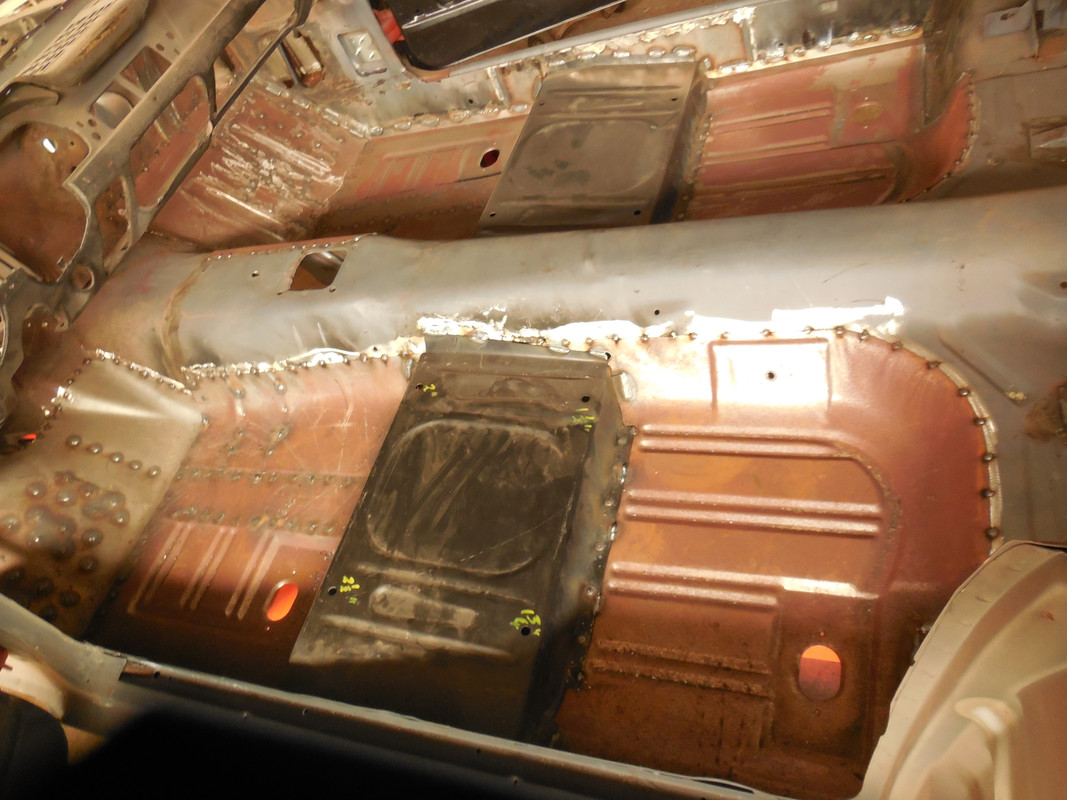
Toe boards & floors came next .........

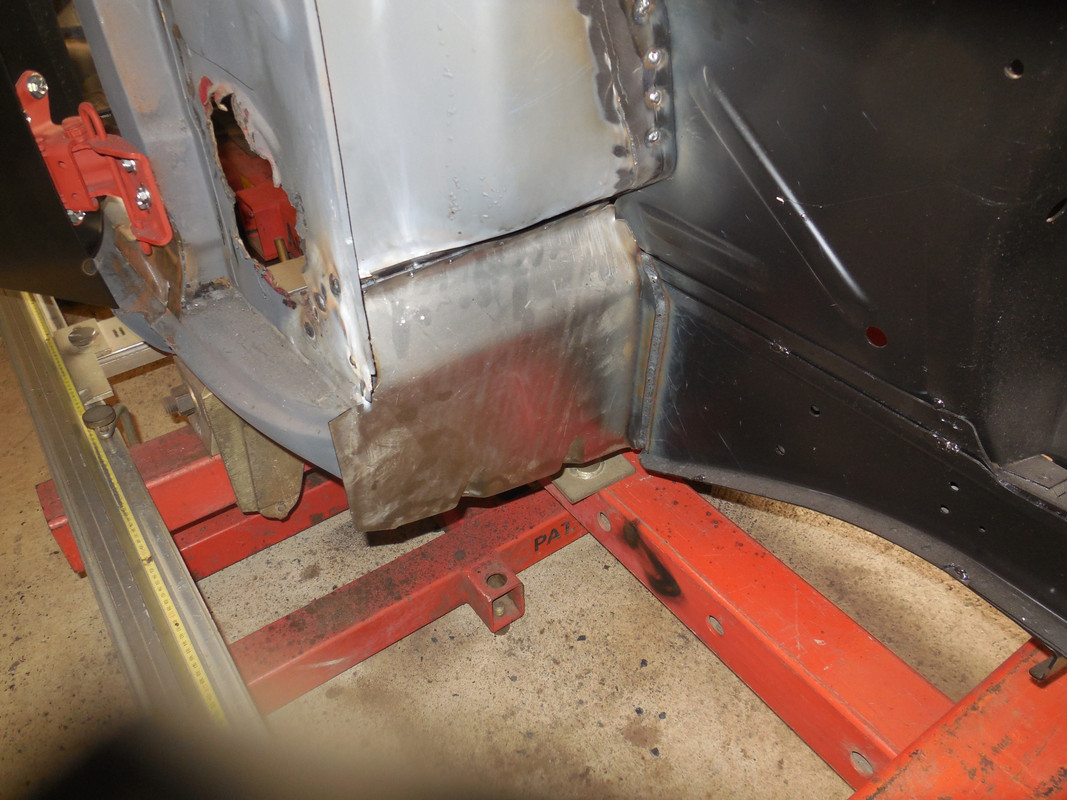
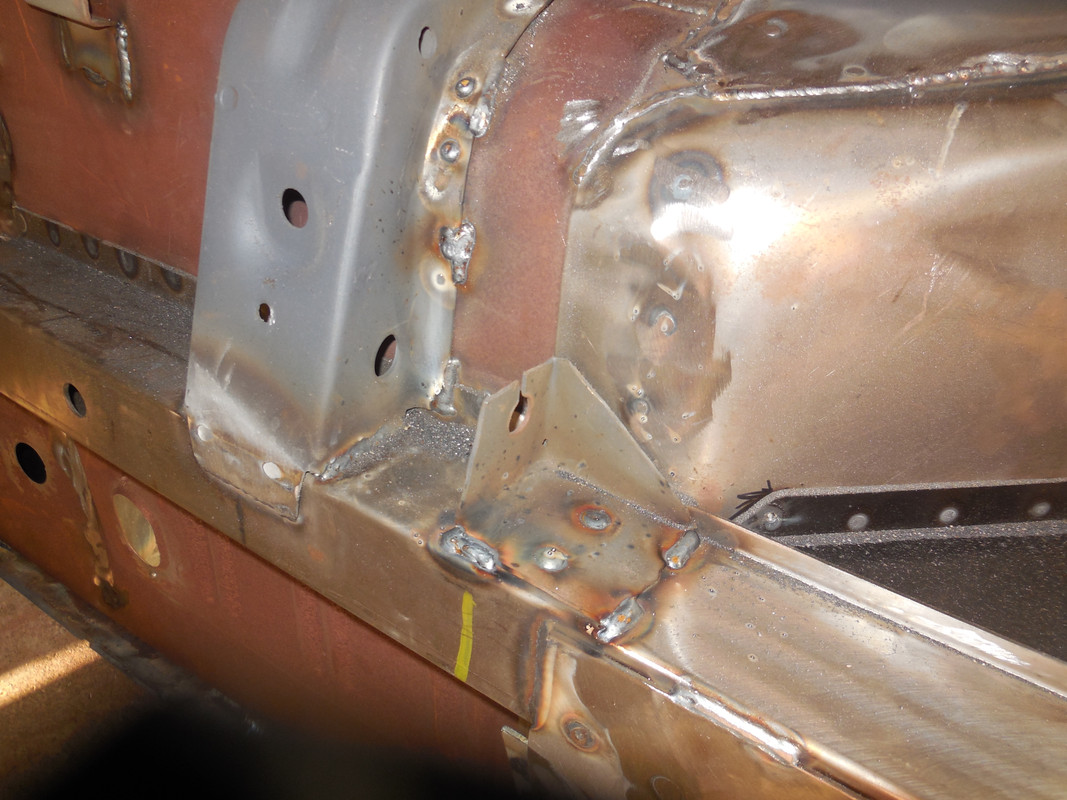
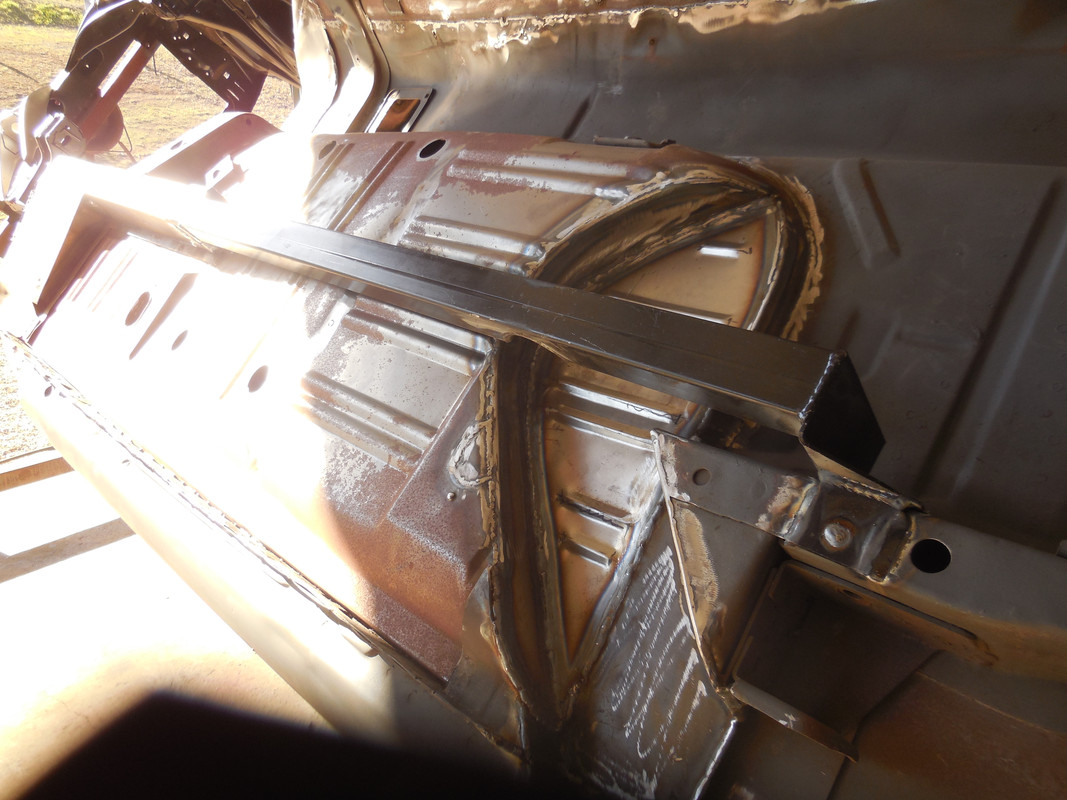
There was a section of the inner rocker that needed some love ......
There was also a need for a section of the RH tunnel. You may ask why I did not put a full floor in there? That will be answered in the next post .....

Common mistake when people replace floors in these cars is not getting them set in place. If these floors had been welded in the position they are in now, the seats would not be parallel to each other. It is always necessary to check with the seat risers in there before tack welding ......
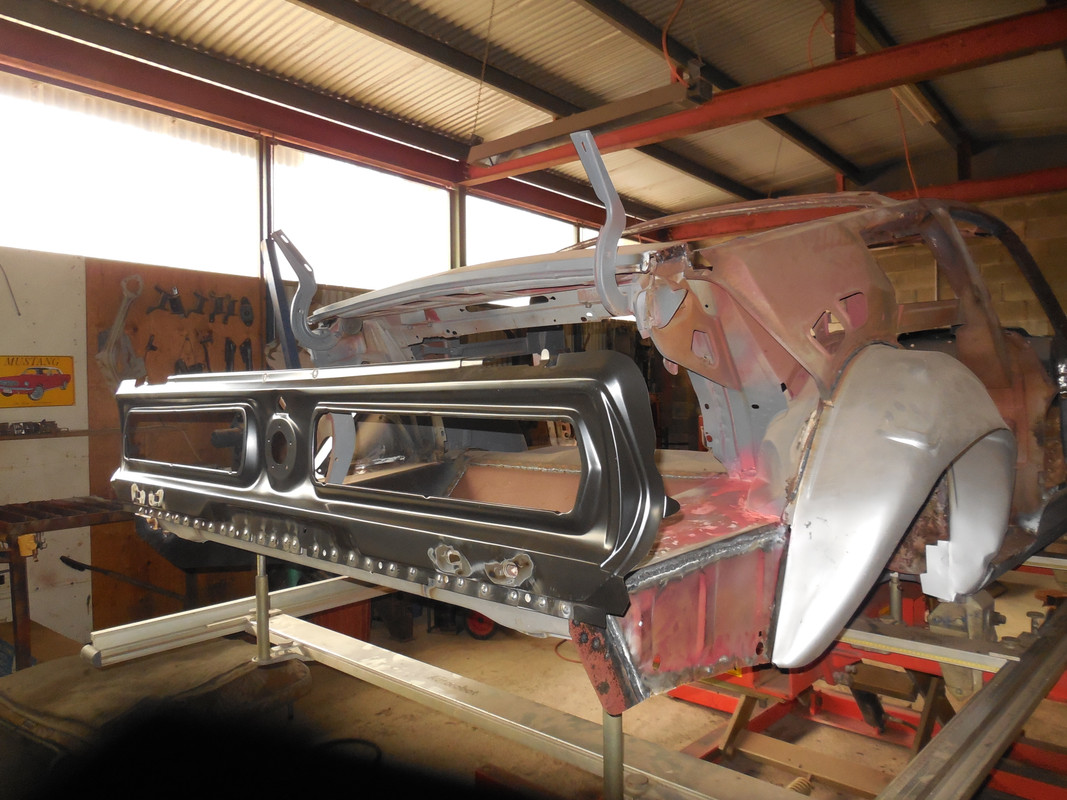
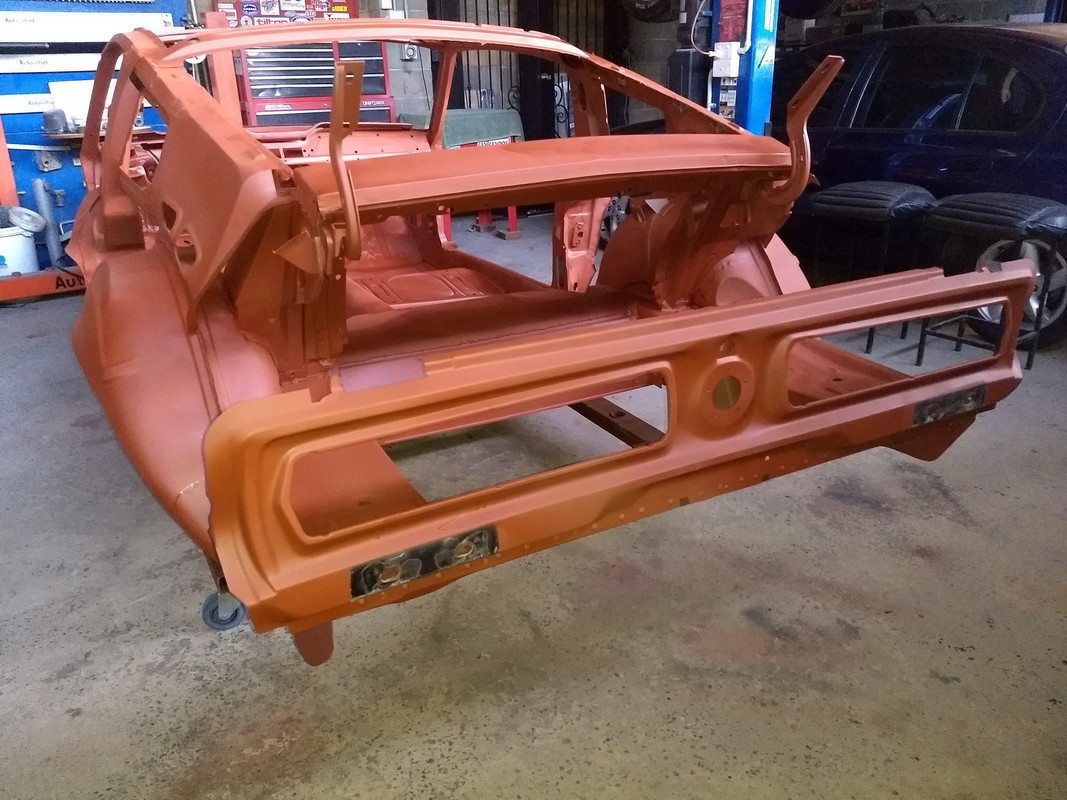
Next came the fitting of the tail light panel, this one a steel panel that accepted the 67 T'Bird tail lights. This makes wiring easier as you don't have to ground each bulb as you do with fiberglass panels. I had already test fitted both quarter panels, but once the tail light panel was on, the shell could be lifted onto the rotisserie so I could perform some minor mods ......
There was a section of the inner rocker that needed some love ......
There was also a need for a section of the RH tunnel. You may ask why I did not put a full floor in there? That will be answered in the next post .....
Common mistake when people replace floors in these cars is not getting them set in place. If these floors had been welded in the position they are in now, the seats would not be parallel to each other. It is always necessary to check with the seat risers in there before tack welding ......
Next came the fitting of the tail light panel, this one a steel panel that accepted the 67 T'Bird tail lights. This makes wiring easier as you don't have to ground each bulb as you do with fiberglass panels. I had already test fitted both quarter panels, but once the tail light panel was on, the shell could be lifted onto the rotisserie so I could perform some minor mods ......
Kerry
To our wives and sweethearts. May they never meet
To our wives and sweethearts. May they never meet
Re: Ozbilt's last build for a client
Can confirmozbilt wrote: Common mistake when people replace floors in these cars is not getting them set in place. If these floors had been welded in the position they are in now, the seats would not be parallel to each other. It is always necessary to check with the seat risers in there before tack welding ......
Re: Ozbilt's last build for a client
You were not the first & there are still many more to follow ........hybrid wrote:Can confirmozbilt wrote: Common mistake when people replace floors in these cars is not getting them set in place. If these floors had been welded in the position they are in now, the seats would not be parallel to each other. It is always necessary to check with the seat risers in there before tack welding ......
Kerry
To our wives and sweethearts. May they never meet
To our wives and sweethearts. May they never meet
Re: Ozbilt's last build for a client
Now mounted on the rotisserie with the tail lamp panel & bumper supports welded in. This allows me to complete the floor welding from underneath & attach the park brake brackets........


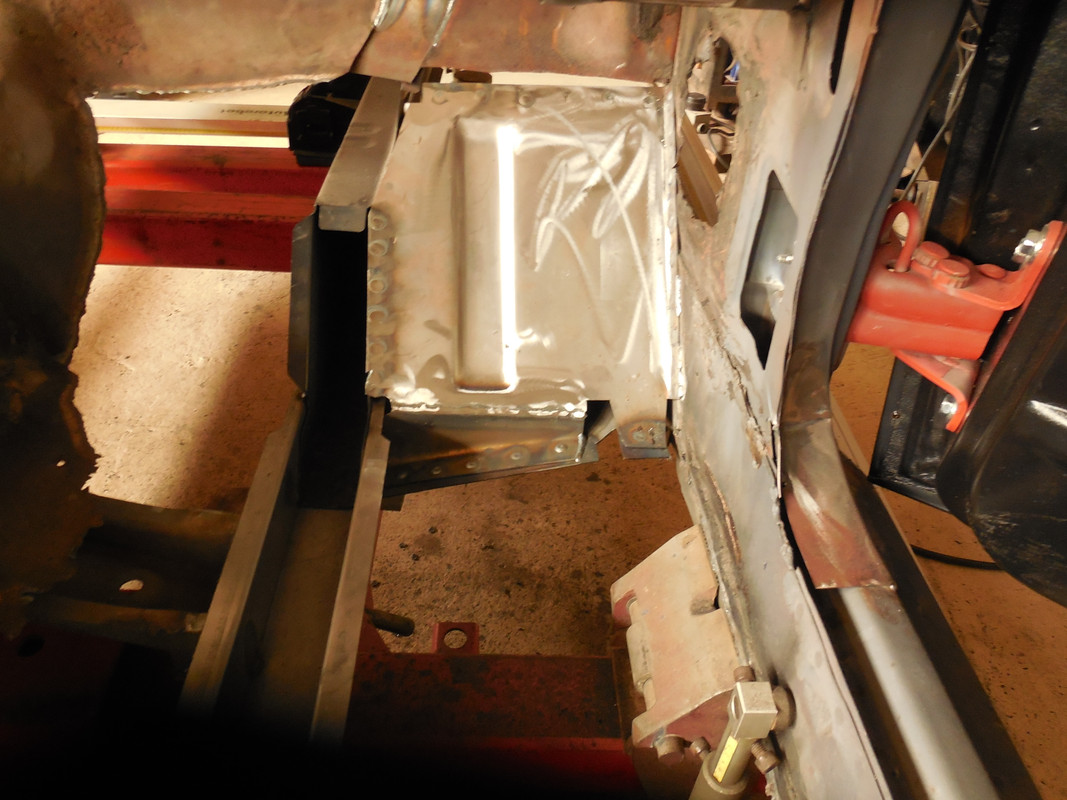
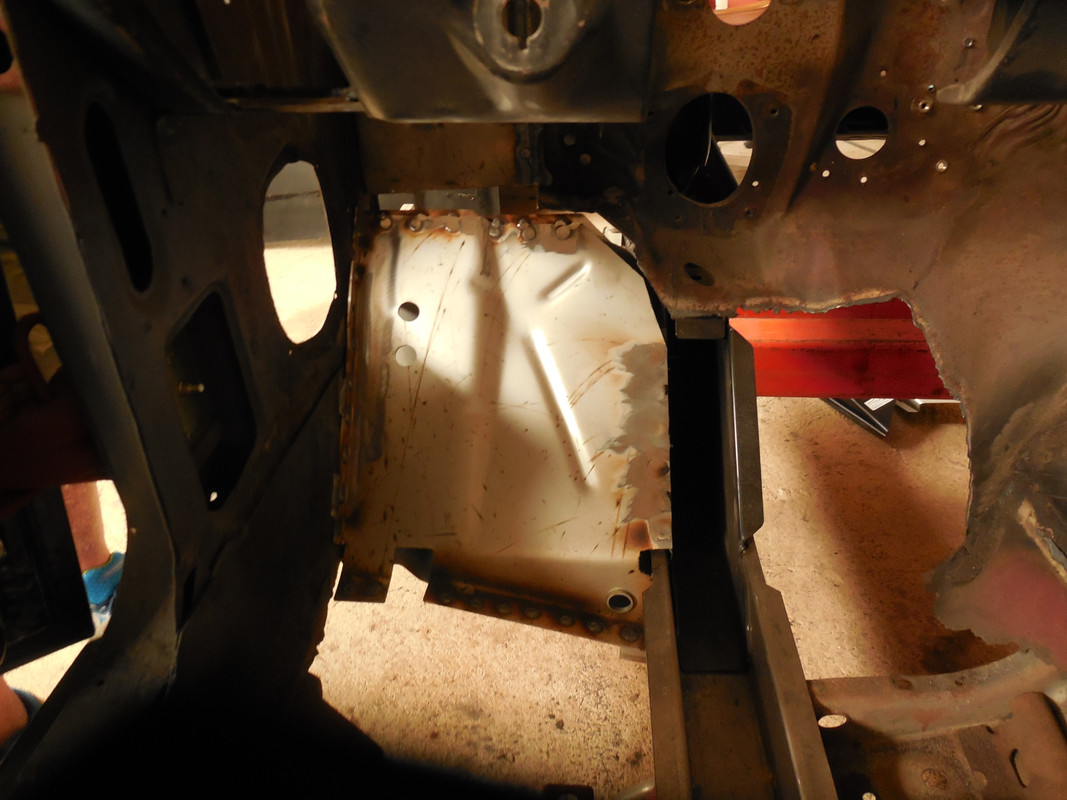
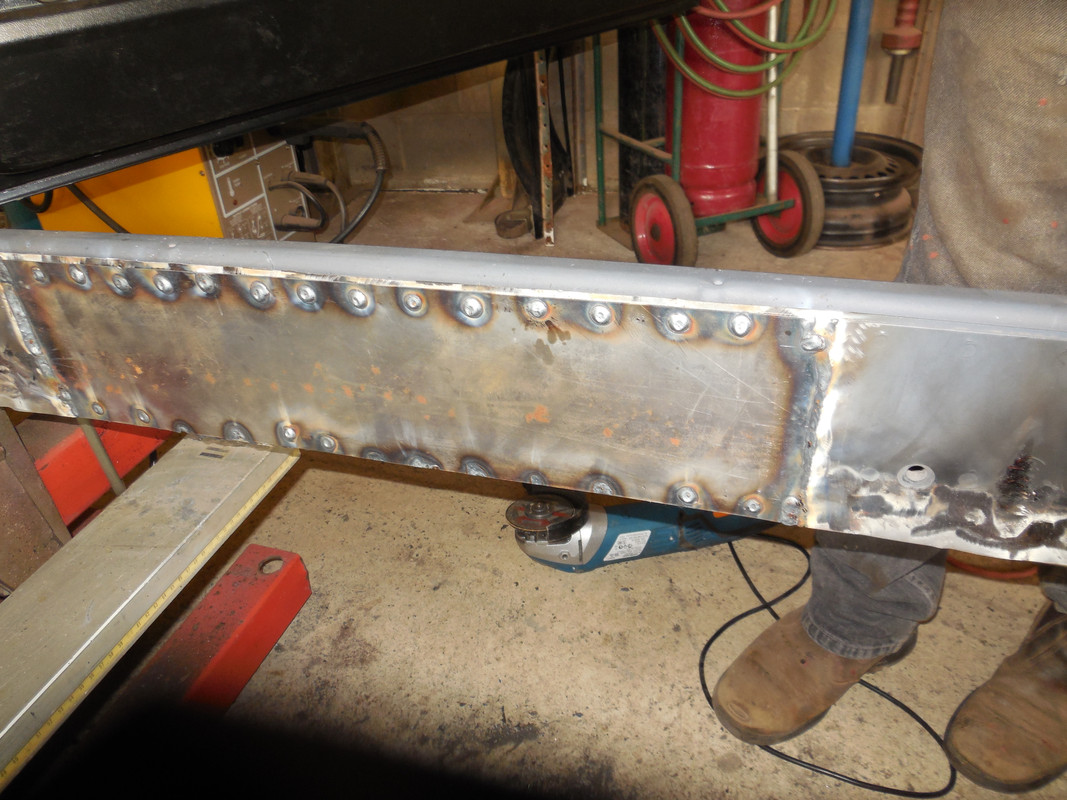
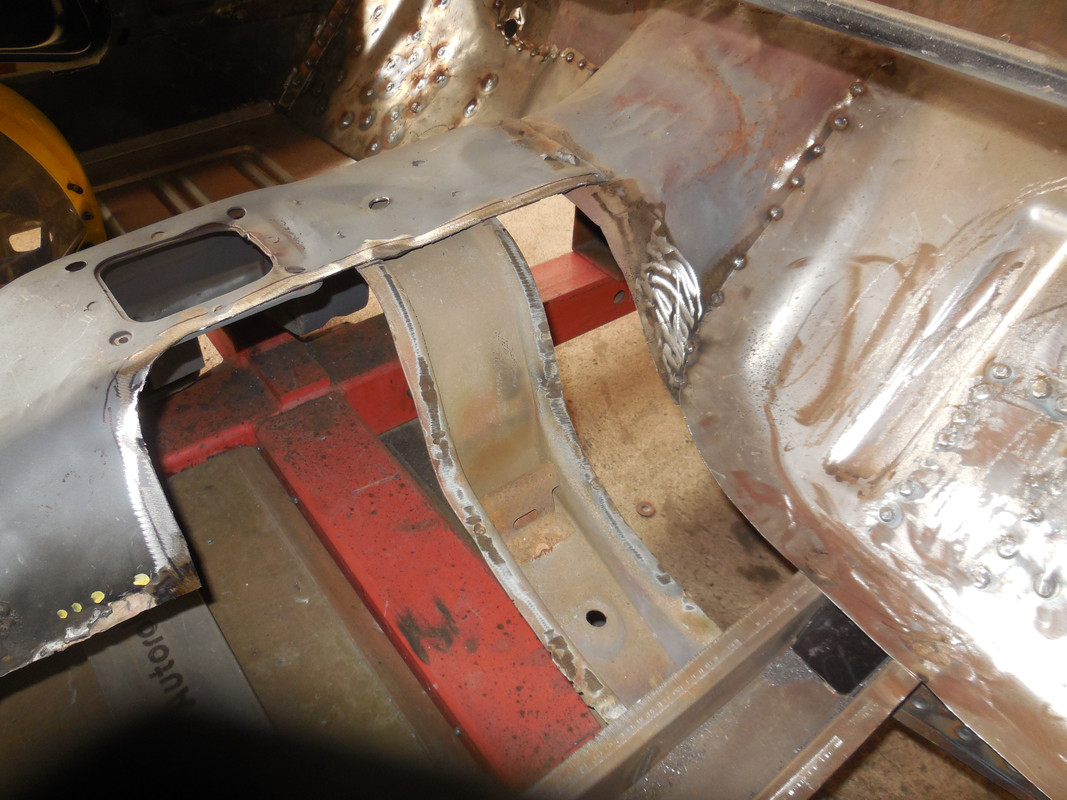
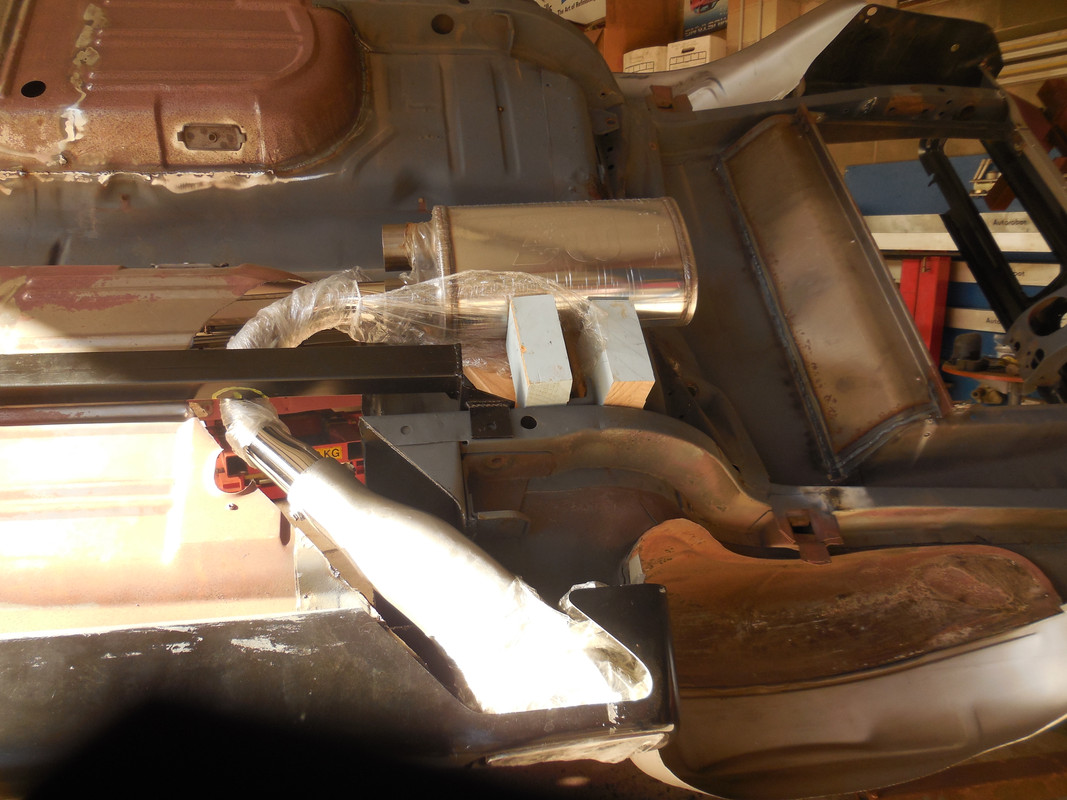
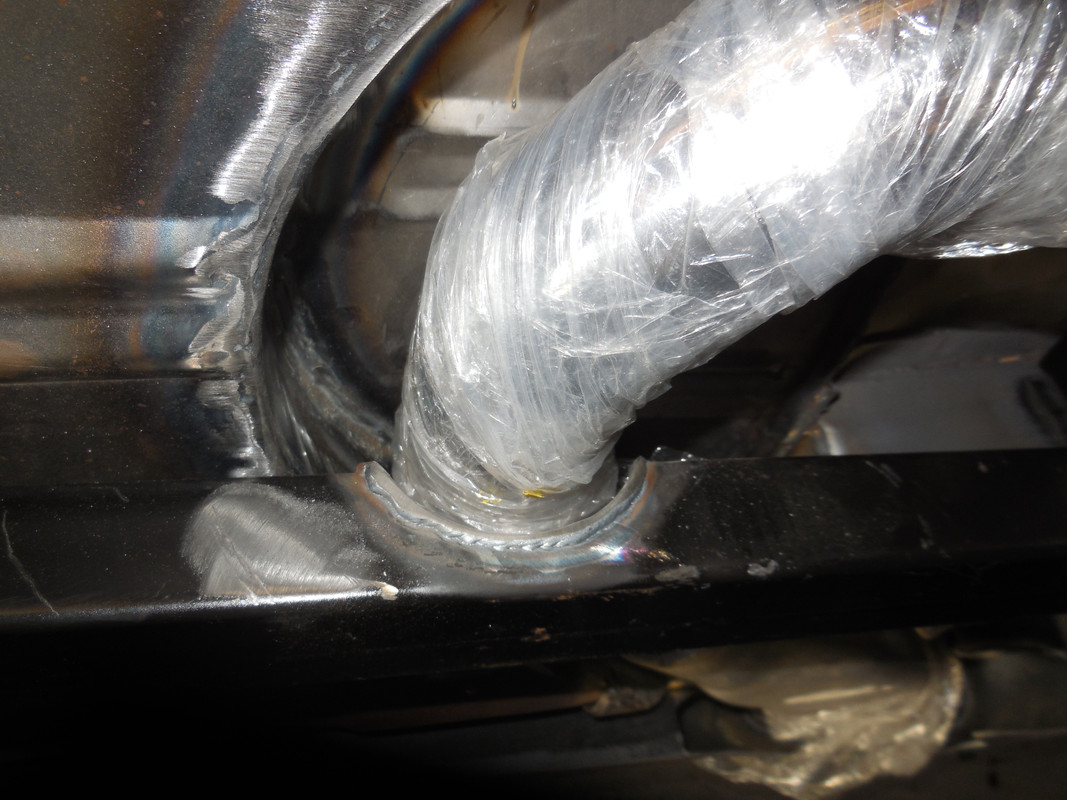
I could now carry out the mods to the rear floor for the exhaust pipes that exit from the sides. First work out where the pipes needed to go, then plasma cut the area our, including the rear torque box. Next was to mock up the muffler & pipes in position, then add modified sub frame connectors. The sub frame connectors put back the strength that I lost cutting into the torque boxes .......
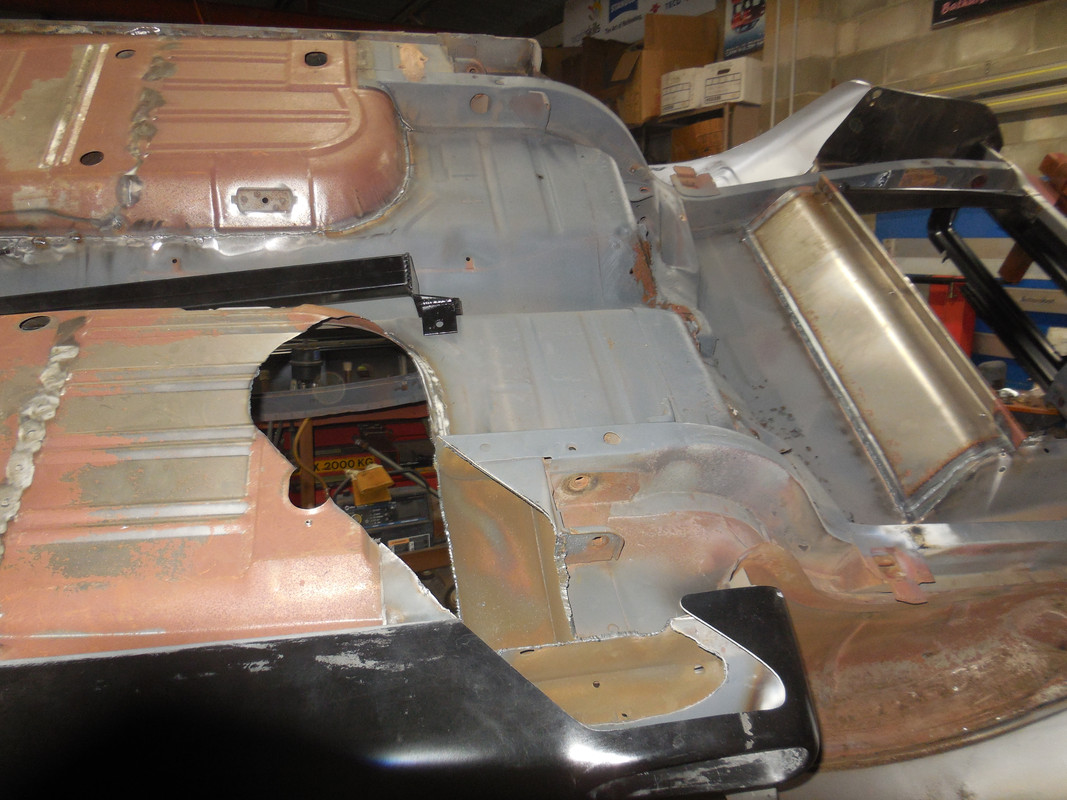


I could now carry out the mods to the rear floor for the exhaust pipes that exit from the sides. First work out where the pipes needed to go, then plasma cut the area our, including the rear torque box. Next was to mock up the muffler & pipes in position, then add modified sub frame connectors. The sub frame connectors put back the strength that I lost cutting into the torque boxes .......
Kerry
To our wives and sweethearts. May they never meet
To our wives and sweethearts. May they never meet
Re: Ozbilt's last build for a client
So the reasoning for not putting in a complete floor (very expensive to purchase & then cut up) was the extensive mods for the exhaust pipes.
Nice thing about these exhaust mods is that nothing will hang below the sub frame connectors & therefore prevents damage.
Nice thing about these exhaust mods is that nothing will hang below the sub frame connectors & therefore prevents damage.
Last edited by ozbilt on Tue Jul 21, 2020 7:39 am, edited 1 time in total.
Kerry
To our wives and sweethearts. May they never meet
To our wives and sweethearts. May they never meet
Re: Ozbilt's last build for a client
Once the exhaust mods to the floors were complete, it was back onto the rotisserie & off to the blaster .......
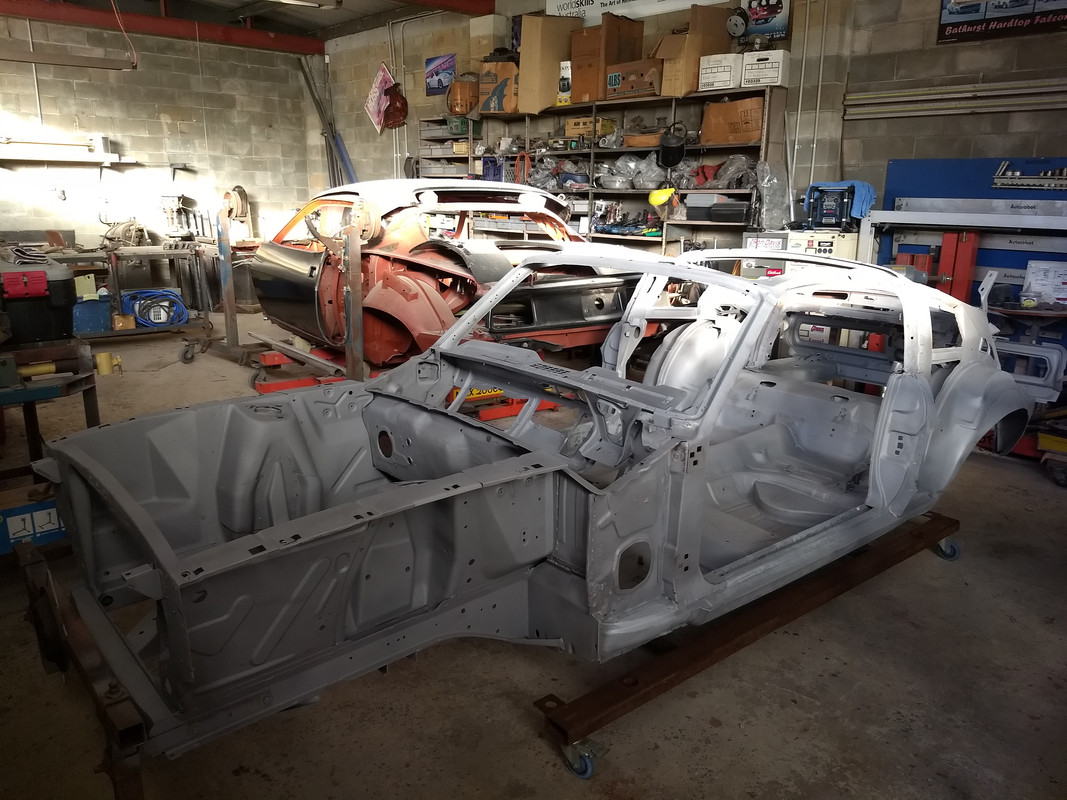
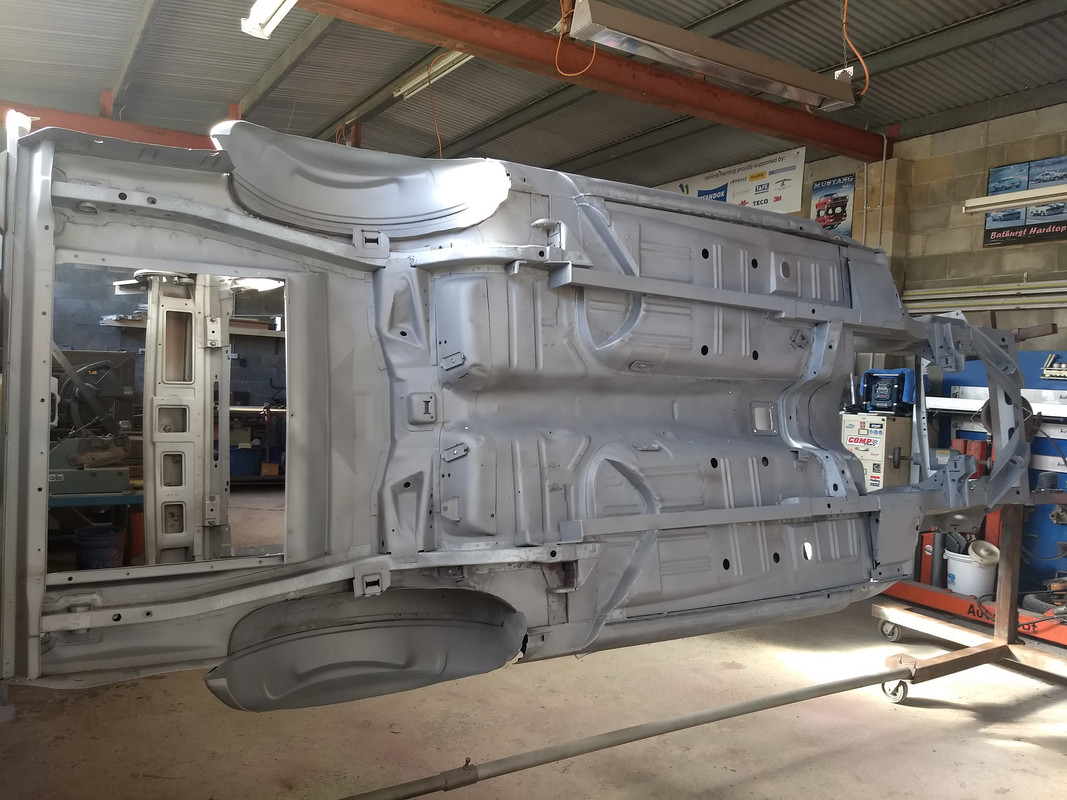
Once I had the car back, it was primer time. International Paints Intergard 269 (red) is what I use. It is an AkzoNobel product for mainly marine use (IE; salt water) & can be used under any of their brands of paint. An extremely durable paint that is the finish coat under the vehicles I build .......
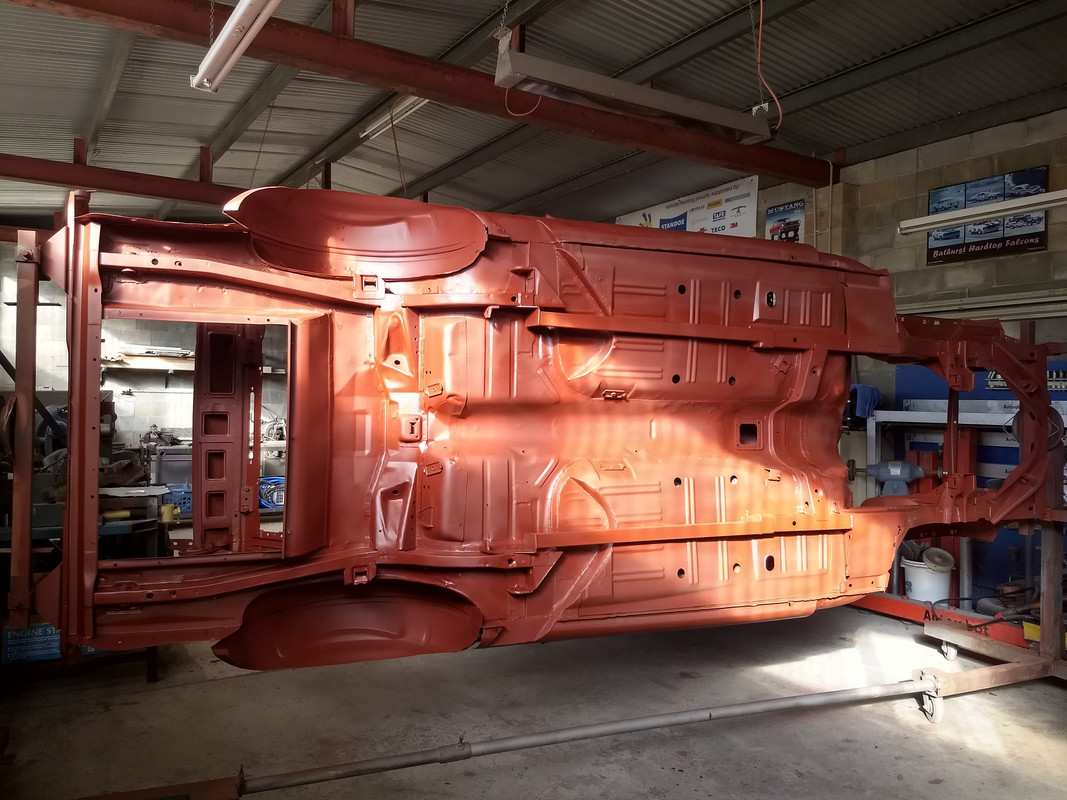
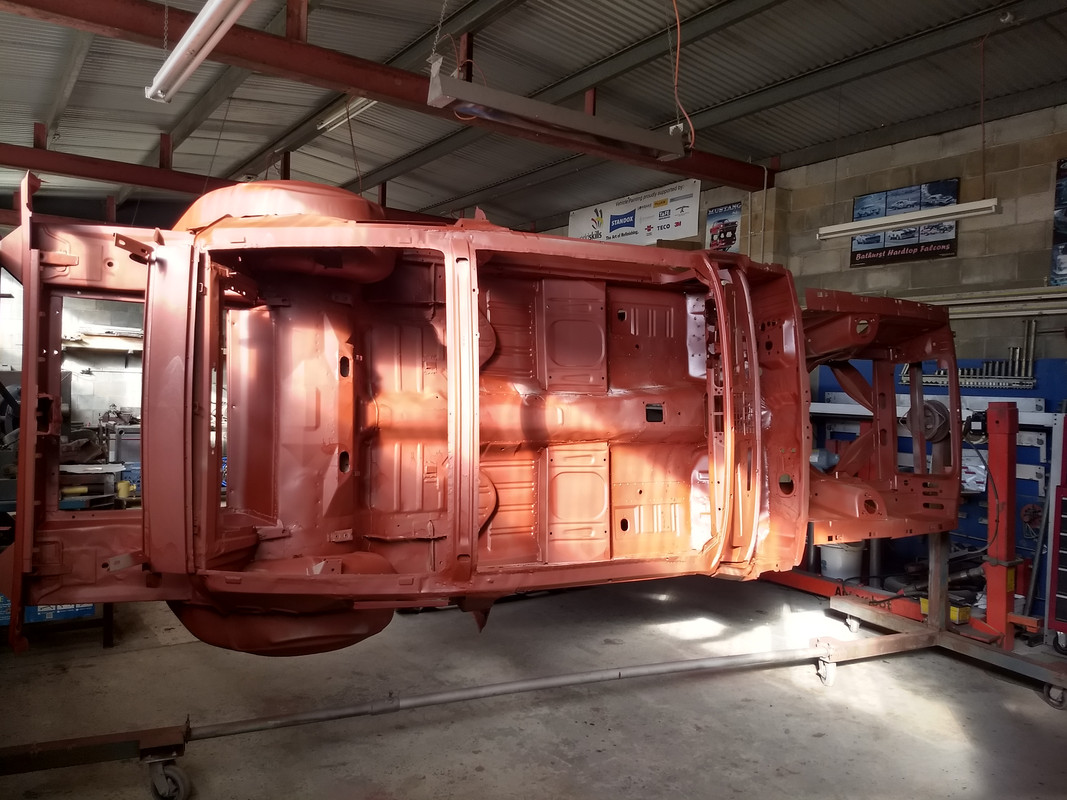
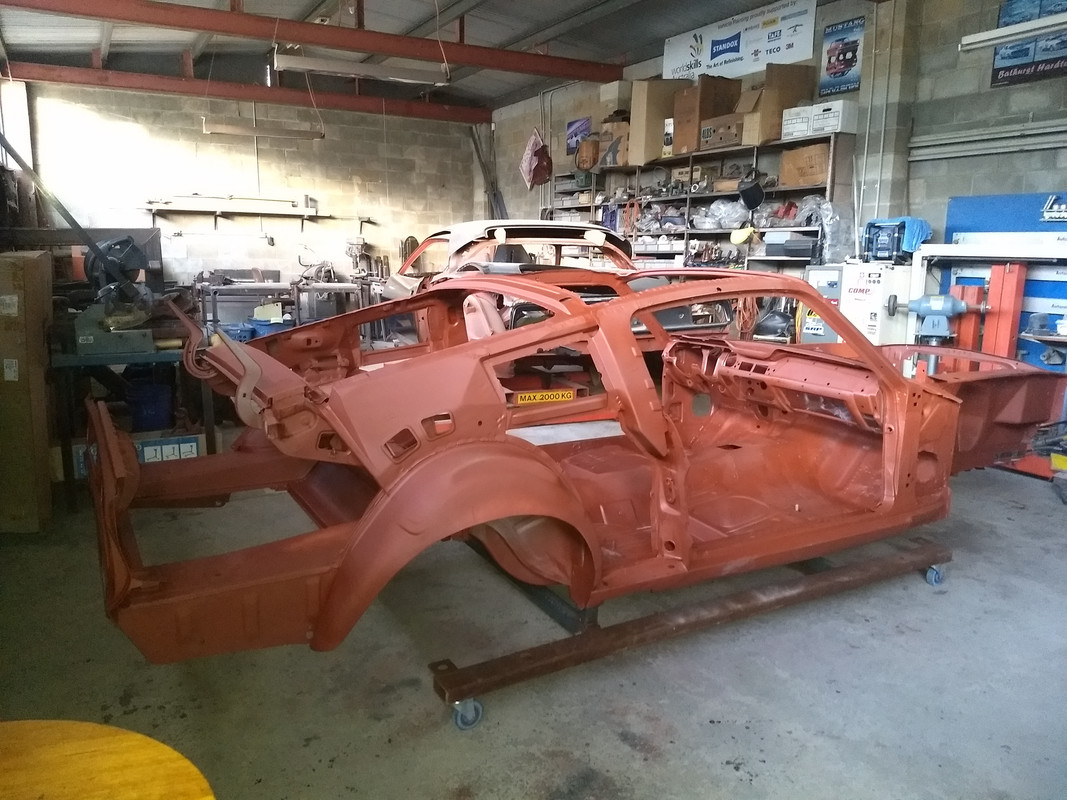
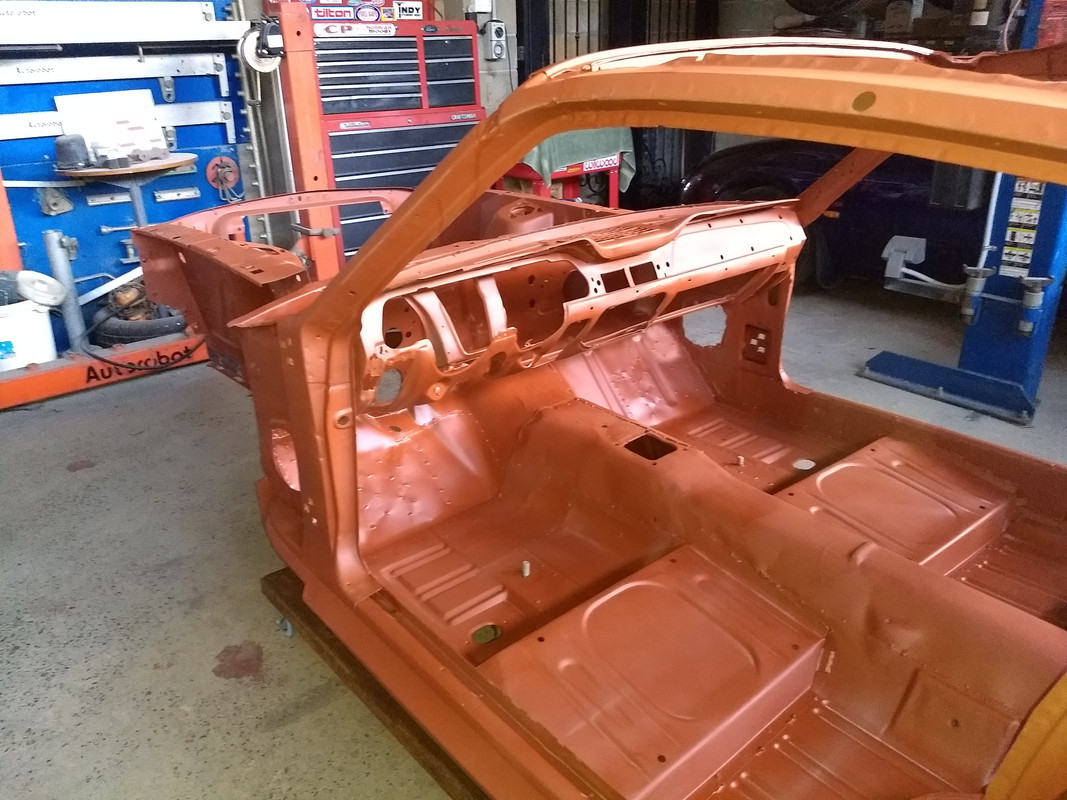
Once I had the car back, it was primer time. International Paints Intergard 269 (red) is what I use. It is an AkzoNobel product for mainly marine use (IE; salt water) & can be used under any of their brands of paint. An extremely durable paint that is the finish coat under the vehicles I build .......
Kerry
To our wives and sweethearts. May they never meet
To our wives and sweethearts. May they never meet

Re: Ozbilt's last build for a client
This build is certainly moving along much faster than mine 

Re: Ozbilt's last build for a client
It was finished late last year. I am just writing it up now I have permission of the owner ......Dwayne wrote:This build is certainly moving along much faster than mine
Kerry
To our wives and sweethearts. May they never meet
To our wives and sweethearts. May they never meet
Re: Ozbilt's last build for a client
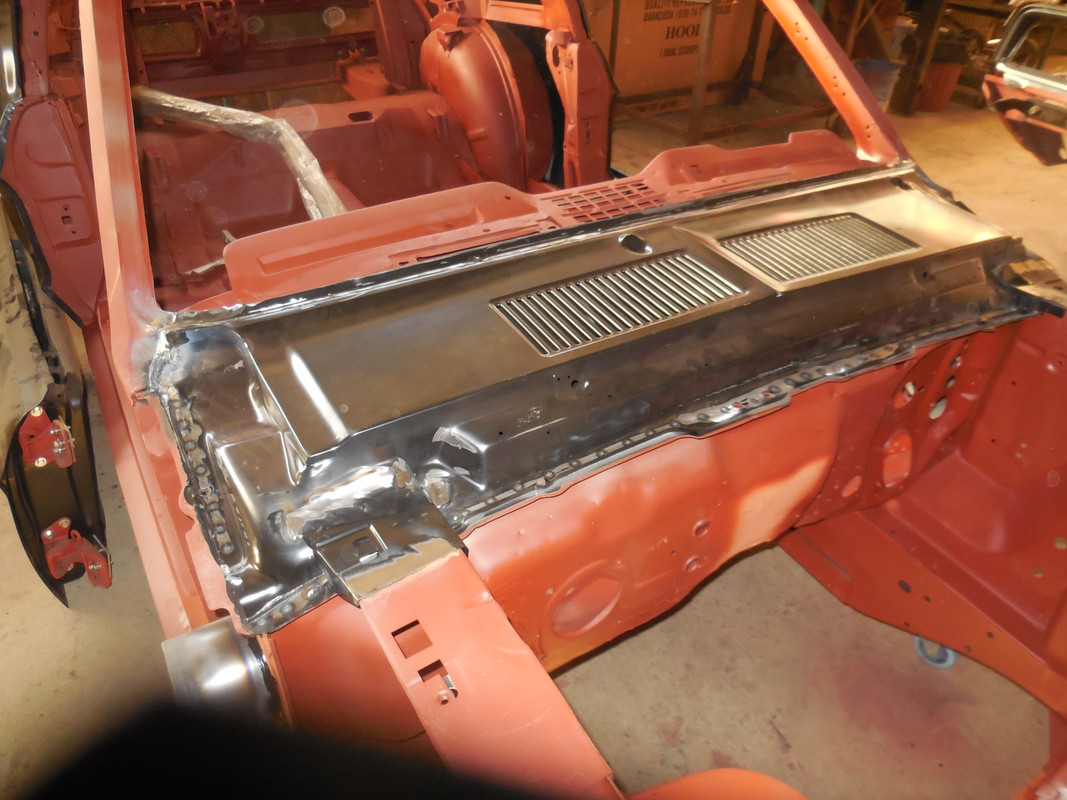
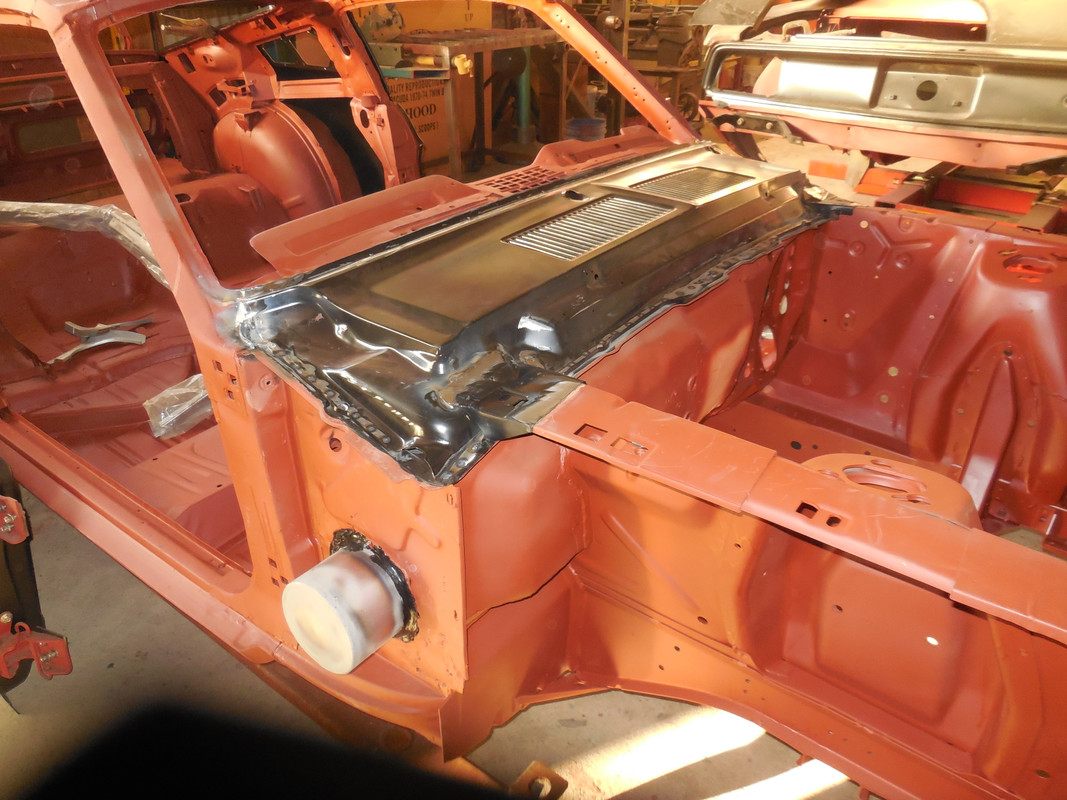
The plenum chamber was the next section to be united with the shell.
I only like the 2 piece (top & separate lower) as many of the complete plenums, I have tried to fit over the years, have had a twist welded into them. That has meant hours of drilling resistance spot welds to separate them to get the twist out.
The method I use, is to fit the lower in place & clamp the top half to it. Then "cleco" the two together & remove the assembly so I can resistance spot weld the two together. I am fortunate enough to have an upright, water cooled resistance spot welder. It is a vintage machine circa 1930/40 & funnily enough, I can still buy parts for it, such as the special tips.
The assembled plenum was then glued in place on the body shell ......
Kerry
To our wives and sweethearts. May they never meet
To our wives and sweethearts. May they never meet
Re: Ozbilt's last build for a client
Note in the two photos above, the two cylindrical pots glued into the A pillar panels.
These are for large front speakers. The car had two plastic ones when I pulled it apart & they had been butchered in place & were no longer useful. The benefit is no any size speaker (up to 150mm) can be fitted.
These are for large front speakers. The car had two plastic ones when I pulled it apart & they had been butchered in place & were no longer useful. The benefit is no any size speaker (up to 150mm) can be fitted.
Kerry
To our wives and sweethearts. May they never meet
To our wives and sweethearts. May they never meet
Re: Ozbilt's last build for a client
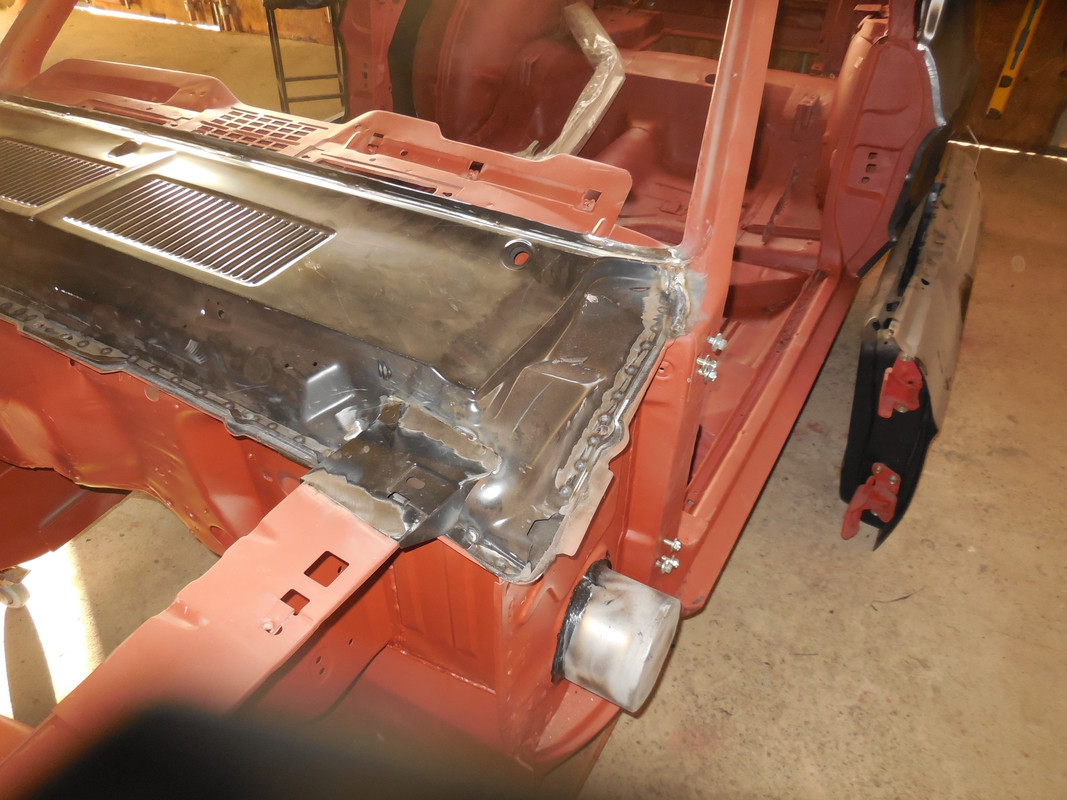
Can anyone guess what the purpose of the circled rectangular piece of metal was there for? On all early cars (64 1/2 to 68) it is there along with another on the left side or the firewall at the plenum join.
Because I had made a new top edge of the firewall on this car, it is missing.


Because I had made a new top edge of the firewall on this car, it is missing.
Last edited by ozbilt on Fri Jul 24, 2020 7:46 am, edited 2 times in total.
Kerry
To our wives and sweethearts. May they never meet
To our wives and sweethearts. May they never meet
Re: Ozbilt's last build for a client
My guess is assembly tabs for lining up everything consistently when they were put together.
Re: Ozbilt's last build for a client
Nope. I did not mention that there was another tab on the right side as well, making 3 of them. Would that help the guess?Dwayne wrote:My guess is assembly tabs for lining up everything consistently when they were put together.
Kerry
To our wives and sweethearts. May they never meet
To our wives and sweethearts. May they never meet