Not anymore....Chux wrote:Well if he has a borgeson ps setup.......Nuts wrote:Hey while you're in Sydney, contact Cage and see what his weekly specials are!!
70 Mach 1 - Slowly
Moderator: Moderators
-
Pinto-Pete
- Mustang King

- Posts: 3210
- Joined: Fri Mar 04, 2011 7:57 pm
Re: 70 Mach 1 - Slowly
I'm Batman...
Crane Operator
Mammoet Australia
Rye Park Wind Farm
Crane Operator
Mammoet Australia
Rye Park Wind Farm

Re: 70 Mach 1 - Slowly
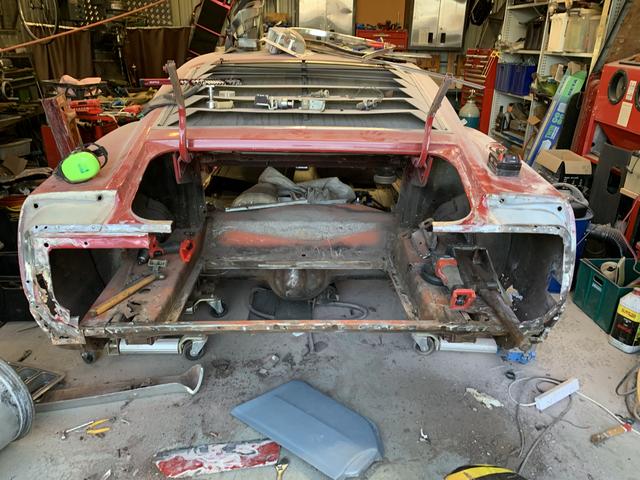
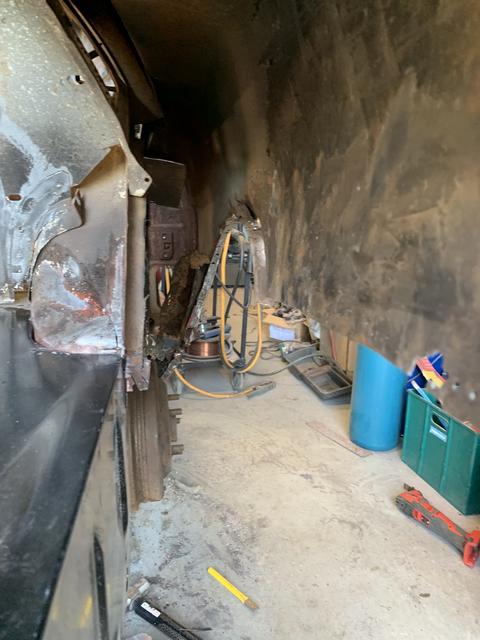
With the car finally in the shed and it coinciding with the first clear day off in 4 months I got into some more disassembly.
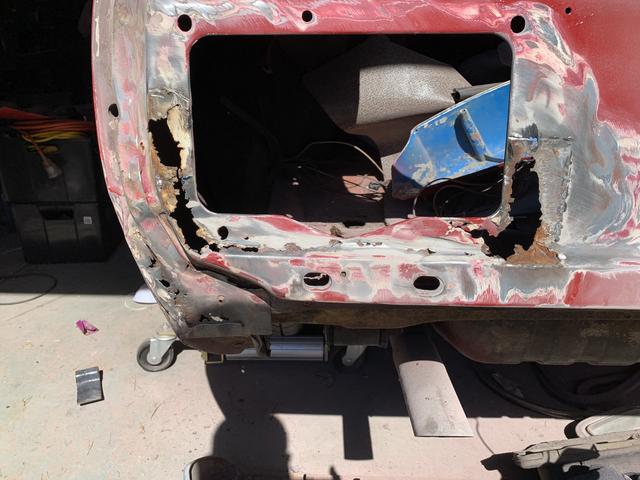
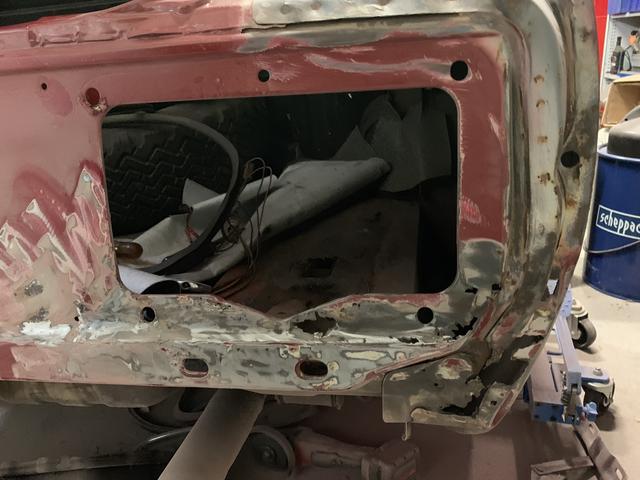
Tail panel is more rusty than I thought and somehow I have a 69 extension the left and a 70 on the right quarter.
The rear valence is either a replacement or ? As it has the part number stencilled in the the red oxide.
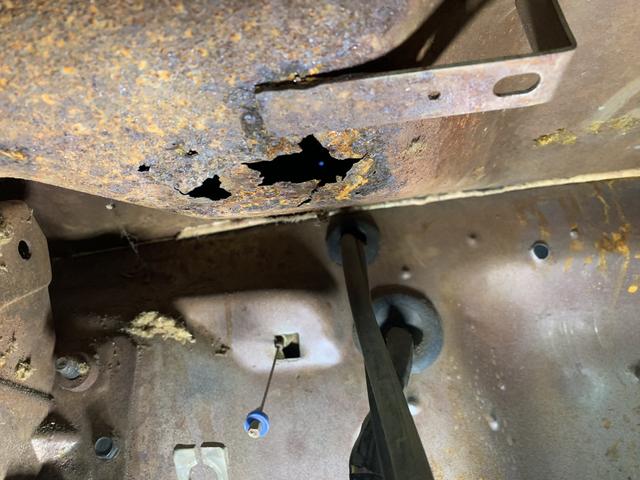
Got the dash out - there is a fair bit to that. Found the source of water that rusted out the floors - it looks like I can repair the lower cowl - from inside the car, probably be easiest on a rotisserie but its two relatively flat areas.
Loom looks pretty good.
Tail panel is more rusty than I thought and somehow I have a 69 extension the left and a 70 on the right quarter.
The rear valence is either a replacement or ? As it has the part number stencilled in the the red oxide.
Got the dash out - there is a fair bit to that. Found the source of water that rusted out the floors - it looks like I can repair the lower cowl - from inside the car, probably be easiest on a rotisserie but its two relatively flat areas.
Loom looks pretty good.
Cheers
Craig
Craig

Re: 70 Mach 1 - Slowly
Rear valance is OEM but not original to the car. Worth fixing if damaged.
When reinstalling the taillight panel, glue it in after carefully grinding ALL the old panel off the inside. You will need to remove the inner bumper bar supports to get the taillight panel in from the inside. Weld the bumper supports back in.
Glueing seals and is stronger than welding because of the area of adhesion. I resistance spot weld the trunk lock support before the panel goes on, however that is because I have that type of welder, so a MIG will do nicely after the taillight panel is in place (before glue is set).
The underside of the plenum panel. Repair sections are are available and inexpensive. Again, I trim to outside of the rusted area and glue the replacement in.
Sika 252 (black) and primer 269 (If I remember correctly) is what I use. Bunnings stock both, at least in my area they do.
Kerry
To our wives and sweethearts. May they never meet
To our wives and sweethearts. May they never meet
Re: 70 Mach 1 - Slowly
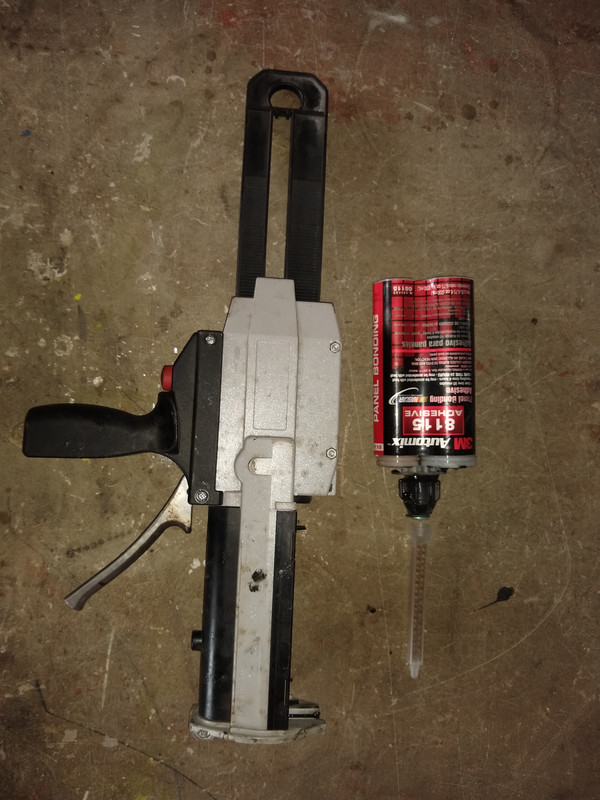
Or you can use what the smash repair shops use. However, the application gun is expensive.
Kerry
To our wives and sweethearts. May they never meet
To our wives and sweethearts. May they never meet
Re: 70 Mach 1 - Slowly
Yes I think that is outside my justification for the project
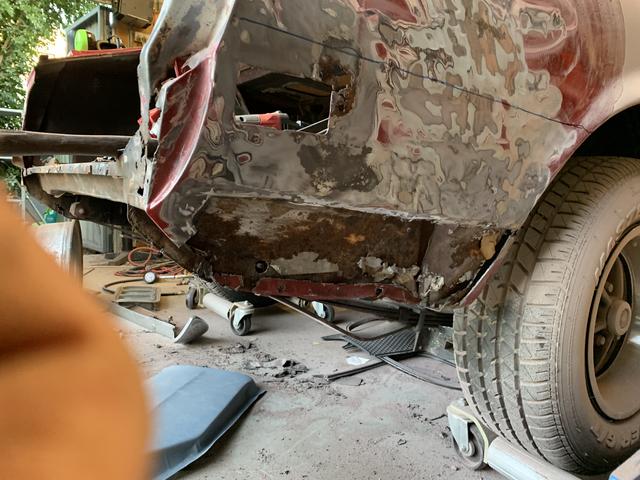
I have to strip quarters fully to assess the rust yet. Drop offs are gone inside trunk and at least the ps lower rear quarter needs a lower section.
I’ll buy the larger drop off sections as there is a bit of rust in the are around bumper support. Must be from road salts coming up around spring hanger?
Cheers
Craig
Craig
Re: 70 Mach 1 - Slowly
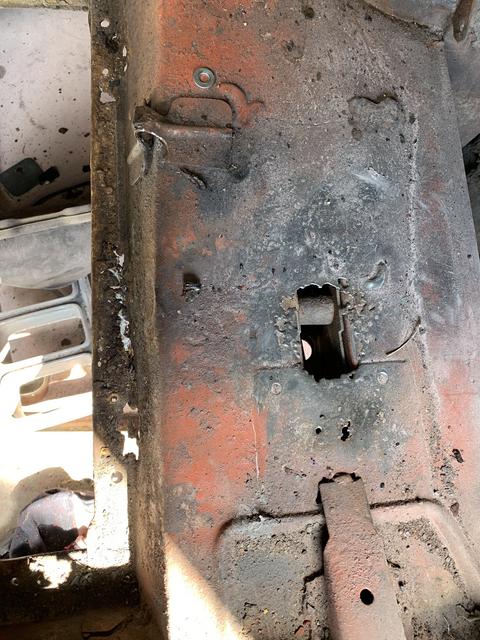
Look for rust in the rear rails where the rear spring hangers are located. They normally will be rusted if the car is as you described.
Kerry
To our wives and sweethearts. May they never meet
To our wives and sweethearts. May they never meet
Re: 70 Mach 1 - Slowly
Yep the ps is rusted and I have the replacement. I think the other is solid. At least it looks it.ozbilt wrote:Look for rust in the rear rails where the rear spring hangers are located. They normally will be rusted if the car is as you described.
I’ve learnt about mustang since acquiring this especially about where they rust

Cheers
Craig
Craig
Re: 70 Mach 1 - Slowly
Removing the tail light panel is definitely a PITA. So many spot welds with the quarter extensions and quarters all overlaying in areas.
I knew it was a dodgy repair but sweet mother - they would have spent more time shaping filler than if they had put in a patch panel.
Beauty is my quarter patch comes up high enough.
But now I can start to get inside the boot a bit easier to remove the drop offs. Glad I bought the full sections as the section the fuel tank sits on is quite Swiss cheesed.
Cheers
Craig
Craig
Re: 70 Mach 1 - Slowly
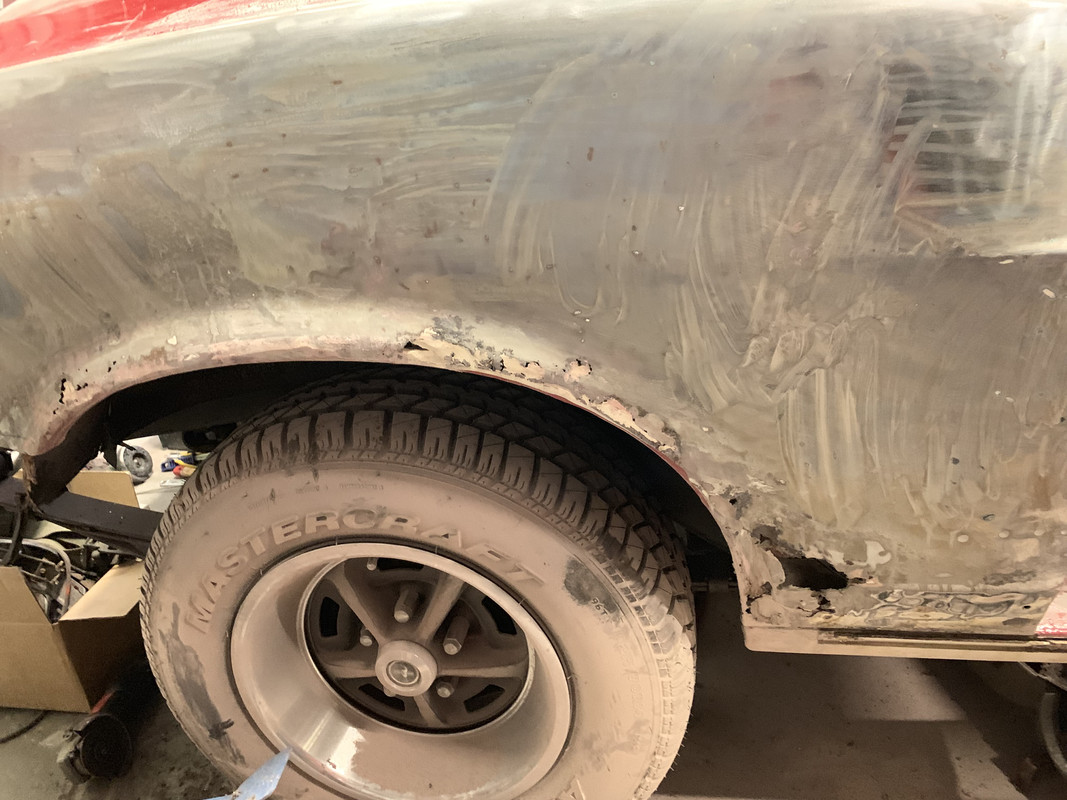
Sometimes you need to look for the sunshine. Fortunately I can see it through the Swiss cheese. Evidence of an old repair - I knew it had a scrape on the PS plus LOTS of filler in arches. Beauty is that it makes removing the wheel housing easier 
I see Sydney Mustang sells both a quarter skin or just the wheel arch section. I have a lower rear quarter patch already but thinking it might just be easier to take off the quarter from the top body line or at least take the wheel arch and front section behind the door.
DS wheel arch is a bit ugly but nowhere near as bad but will strip the whole panel for a decent look before I commit to anything.
Cheers
Craig
Craig
Re: 70 Mach 1 - Slowly
Put the skin on up to the belt line. Look up how I did that on Mark's Cuda (Hulk) as it shows the top joint and welding technique.
Kerry
To our wives and sweethearts. May they never meet
To our wives and sweethearts. May they never meet
Re: 70 Mach 1 - Slowly
Hi Kerry
Had a look, just clarifying what you did on the Pontiac - butt weld no overlap and cut right on the top body (belt) line?
Thanks in advance.
Craig
Had a look, just clarifying what you did on the Pontiac - butt weld no overlap and cut right on the top body (belt) line?
Thanks in advance.
Craig
Cheers
Craig
Craig
Re: 70 Mach 1 - Slowly
Lap weld on the lower side of the belt line (if you do it above, it buckles the crap on that section). 10mm overlap. Mark and tack every 25mm them build the weld from there.Chux wrote:Hi Kerry
Had a look, just clarifying what you did on the Pontiac - butt weld no overlap and cut right on the top body (belt) line?
Thanks in advance.
Craig
After the first tacks (25mm spacings) allow to cool and then tack again between each of the first tacks (you then have tacks every 12.5mm)
Then you build the weld by placing the next tacks on each SECOND weld tack and allowing to cool. Keep doing that until it is a continuous weld.
I allow the cooling by doing some plug welds elsewhere on the quarter (like wheel arch, door post etc)
Last edited by ozbilt on Fri Sep 06, 2019 2:29 pm, edited 2 times in total.
Kerry
To our wives and sweethearts. May they never meet
To our wives and sweethearts. May they never meet
Re: 70 Mach 1 - Slowly
Thanks mate that makes sense. Much easier to set up with overlap on such a long section.
Cheers
Craig
Craig
Re: 70 Mach 1 - Slowly
I mark and drill 3mm (1/8") holes every 25mm and self tapper the panels together. Then my first tacks are between those self tappers. Remove the screws and that is where the second lot of tacks go.Chux wrote:Thanks mate that makes sense. Much easier to set up with overlap on such a long section.
From that point on, it is tacking every second tack (so every 25mm)
Kerry
To our wives and sweethearts. May they never meet
To our wives and sweethearts. May they never meet
Re: 70 Mach 1 - Slowly
Did anyone ever say there is a lot of spot welds holding these things together.!!
The trunk drop offs are not a lot of fun to get out but done the RH side and the new one fits nicely. Cut out (most) of the outer wheel house as well. It’s a nice view inside
Tried a few brands of paint stripper as well - Balchan gets my vote - its better than Diggers.
The trunk drop offs are not a lot of fun to get out but done the RH side and the new one fits nicely. Cut out (most) of the outer wheel house as well. It’s a nice view inside
Tried a few brands of paint stripper as well - Balchan gets my vote - its better than Diggers.
Cheers
Craig
Craig