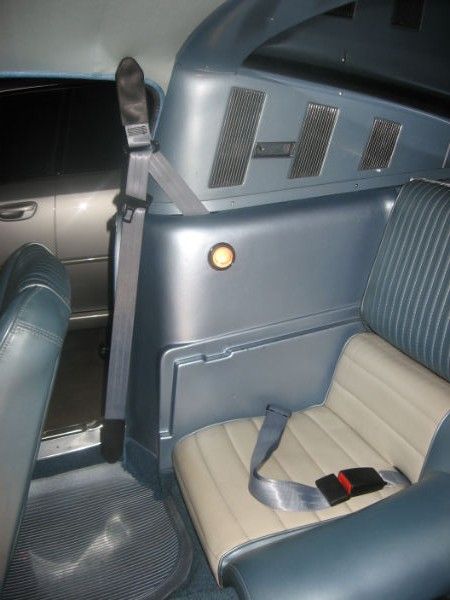
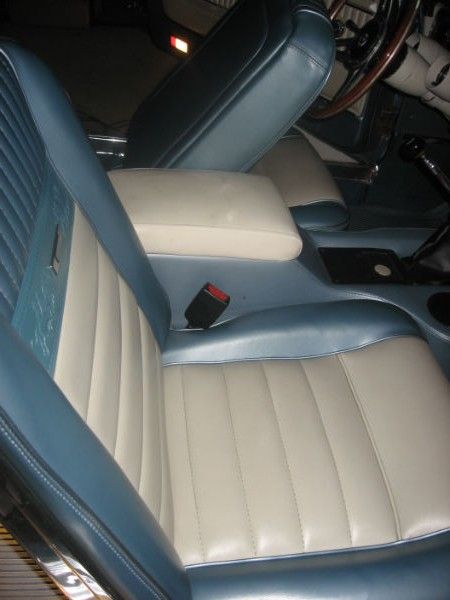
They don't have such a pronounced hump in the middle right?jusTANG wrote:a coupe is a little different on the back seat.
s

They don't have such a pronounced hump in the middle right?jusTANG wrote:a coupe is a little different on the back seat.
Hhmmmm, I think if there were a crack that large in the back seat then you may have other balance issues.hybrid wrote:It could provide more stability if the right sized crack was available?
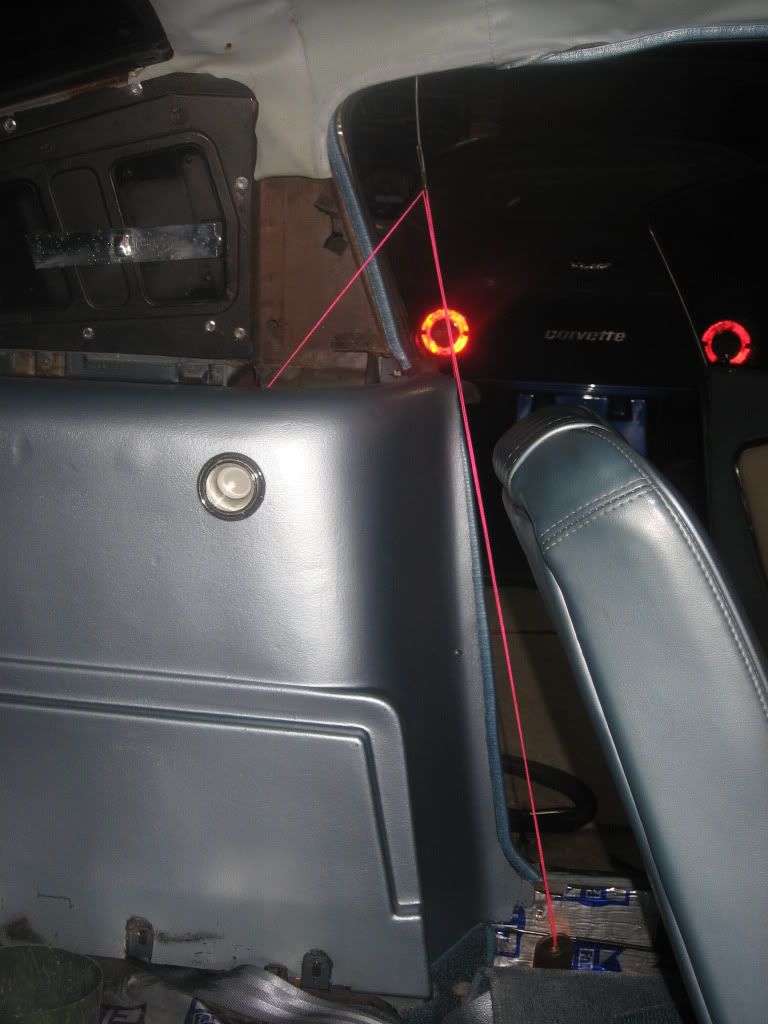
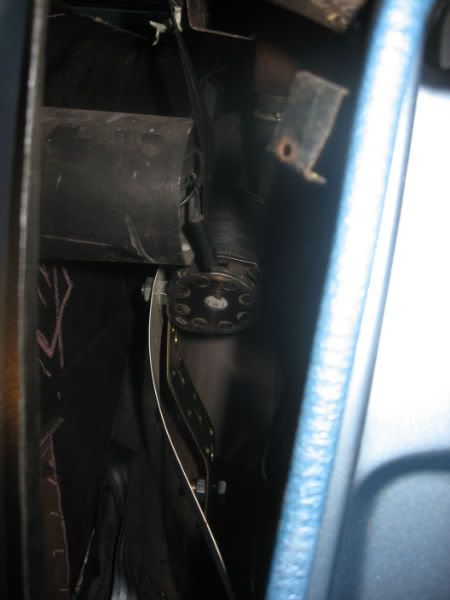

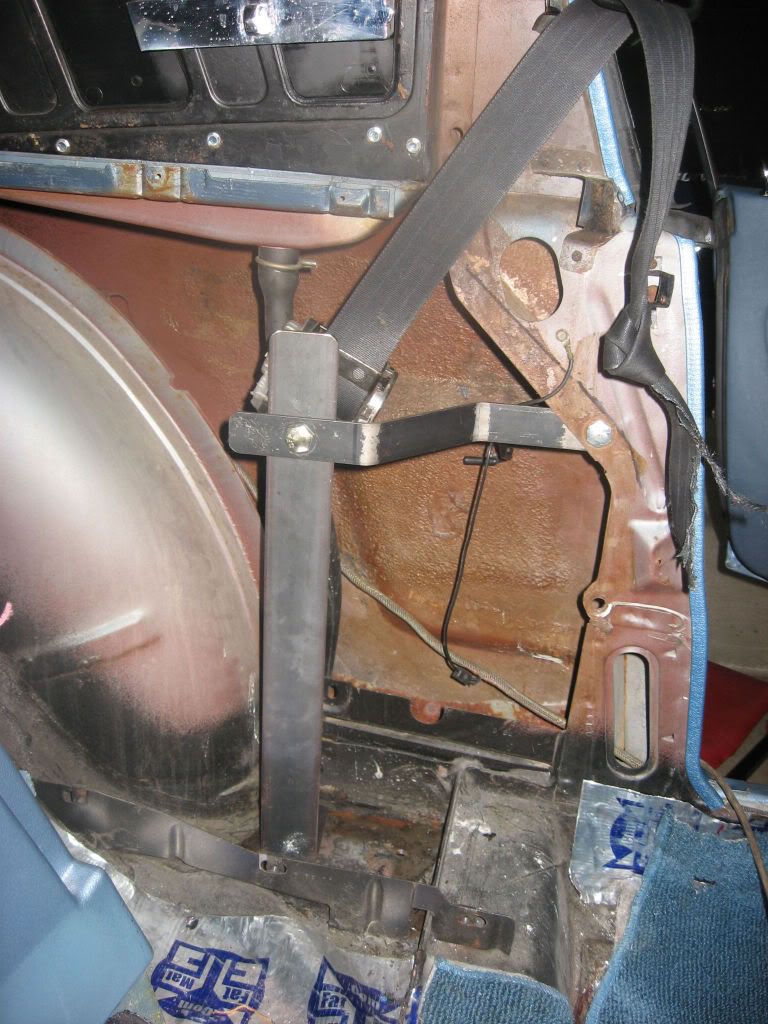
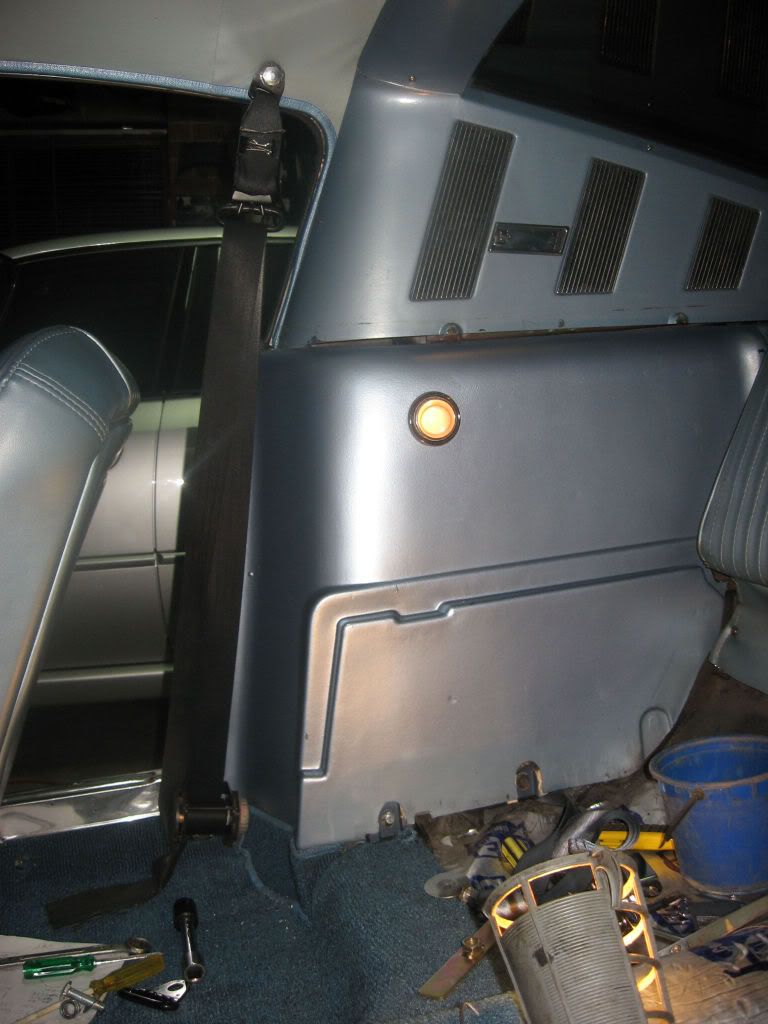
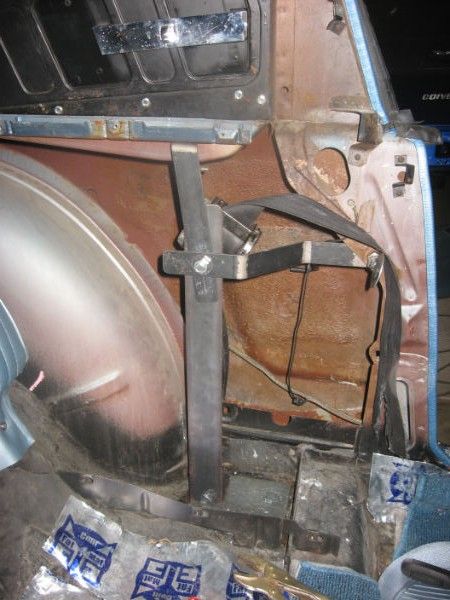
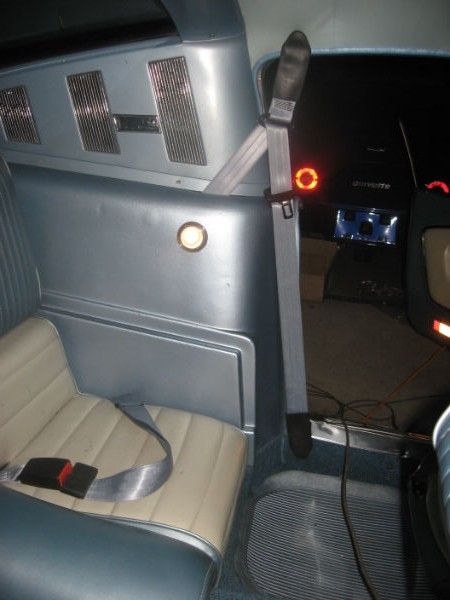
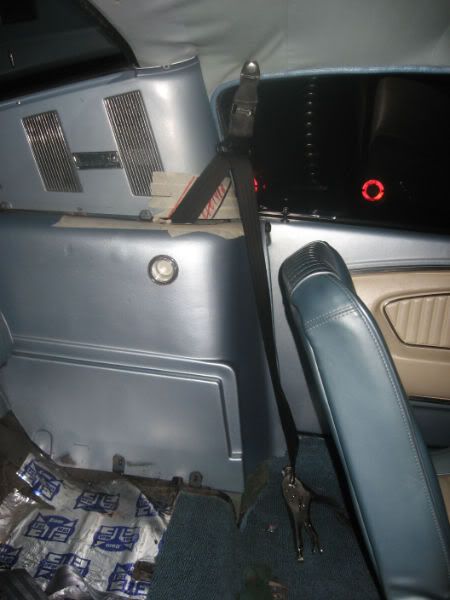
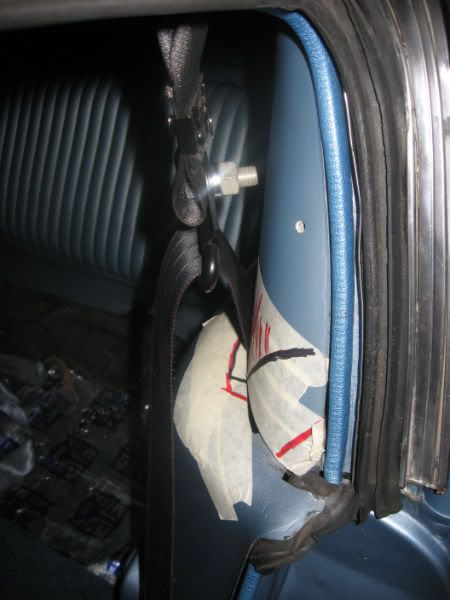
I believe you have to order one with the correct 'tilt bias', you've probably seen the ones that lie flat, etc. They all have different tilt biases.donoauto wrote:Wow , I thought the inertias didn't want to extend if the reel was at any form of angle ??
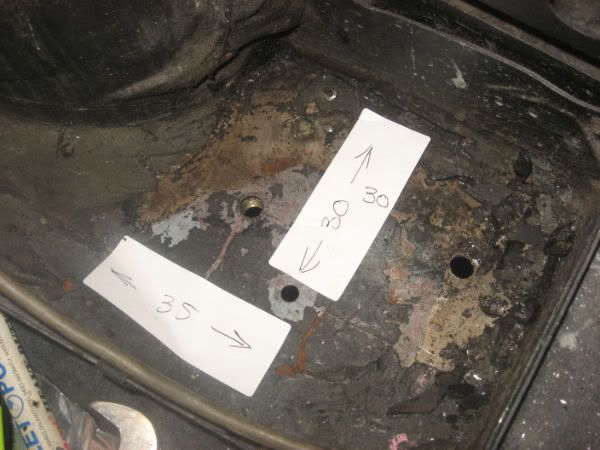
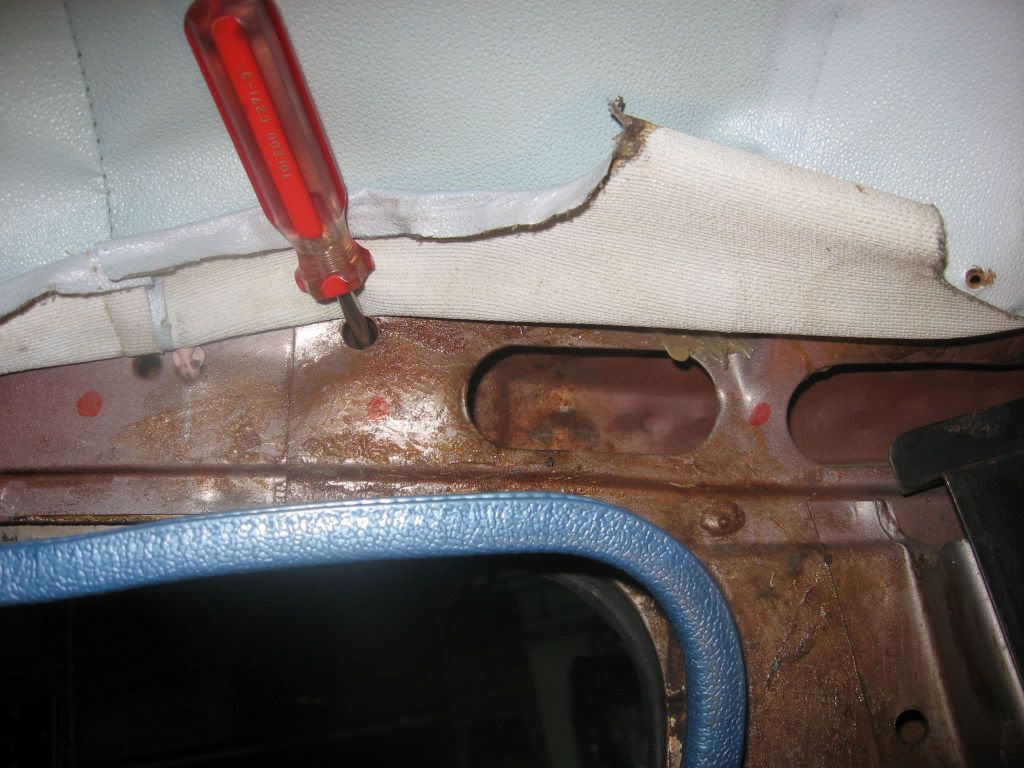
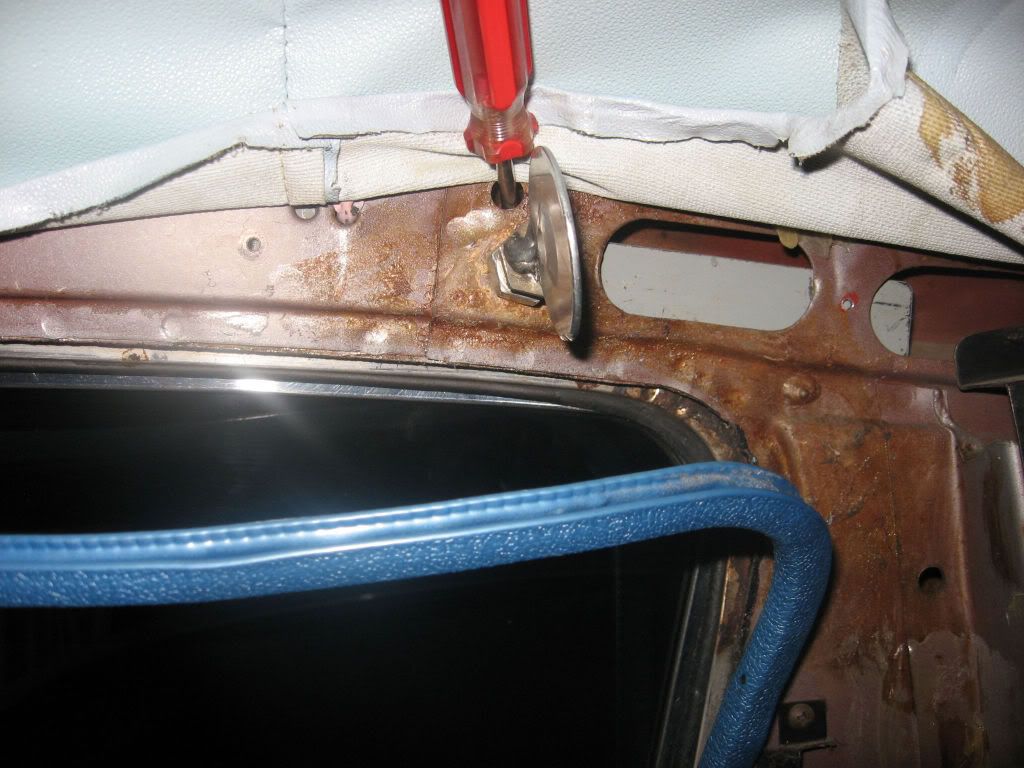
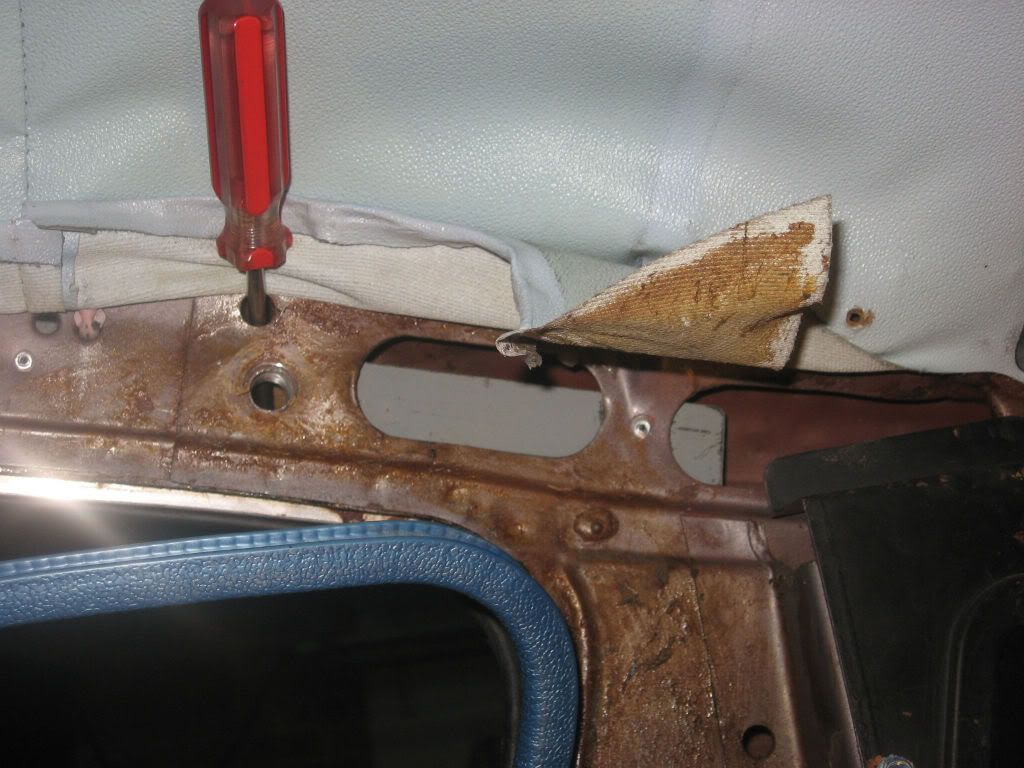
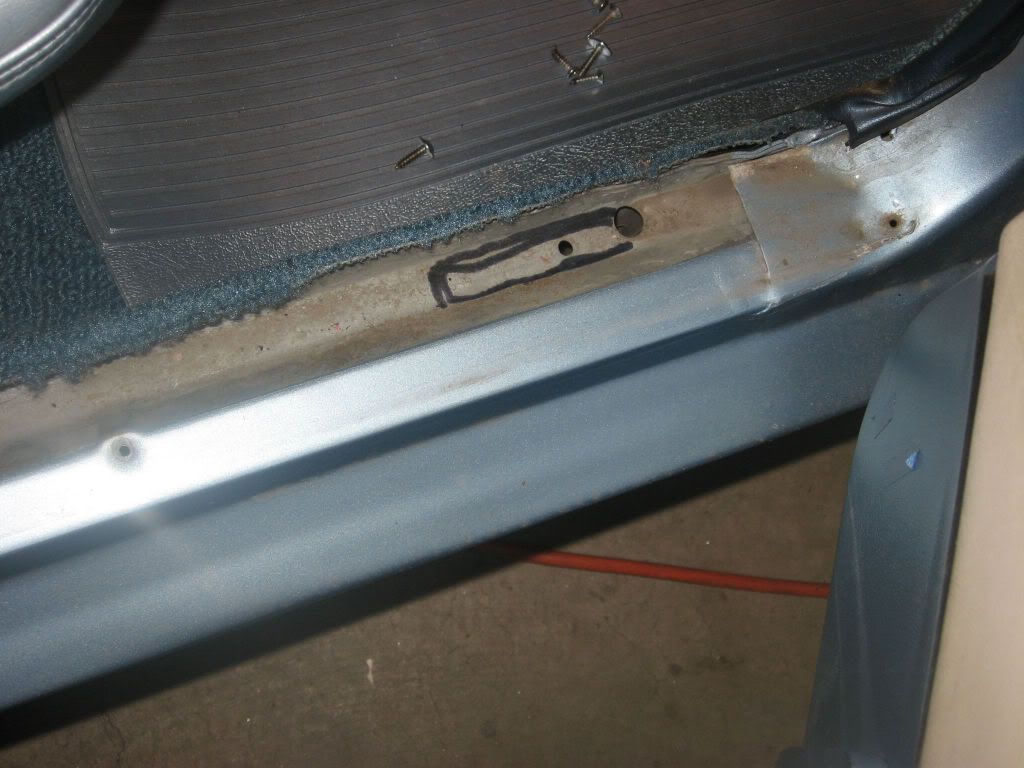
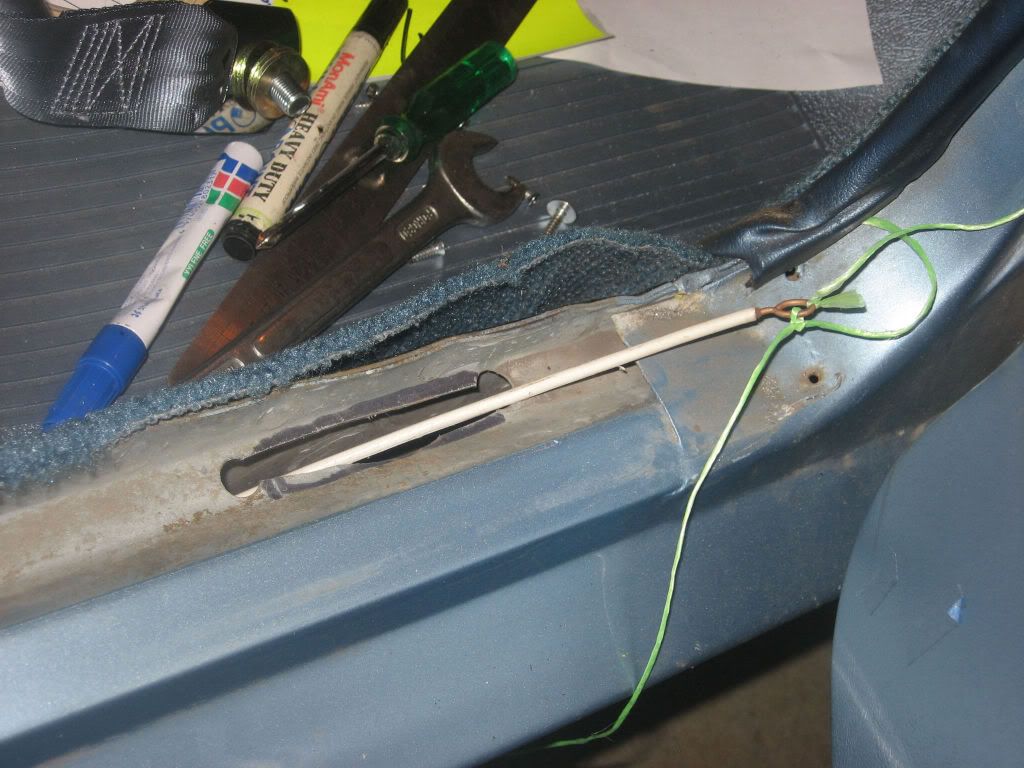
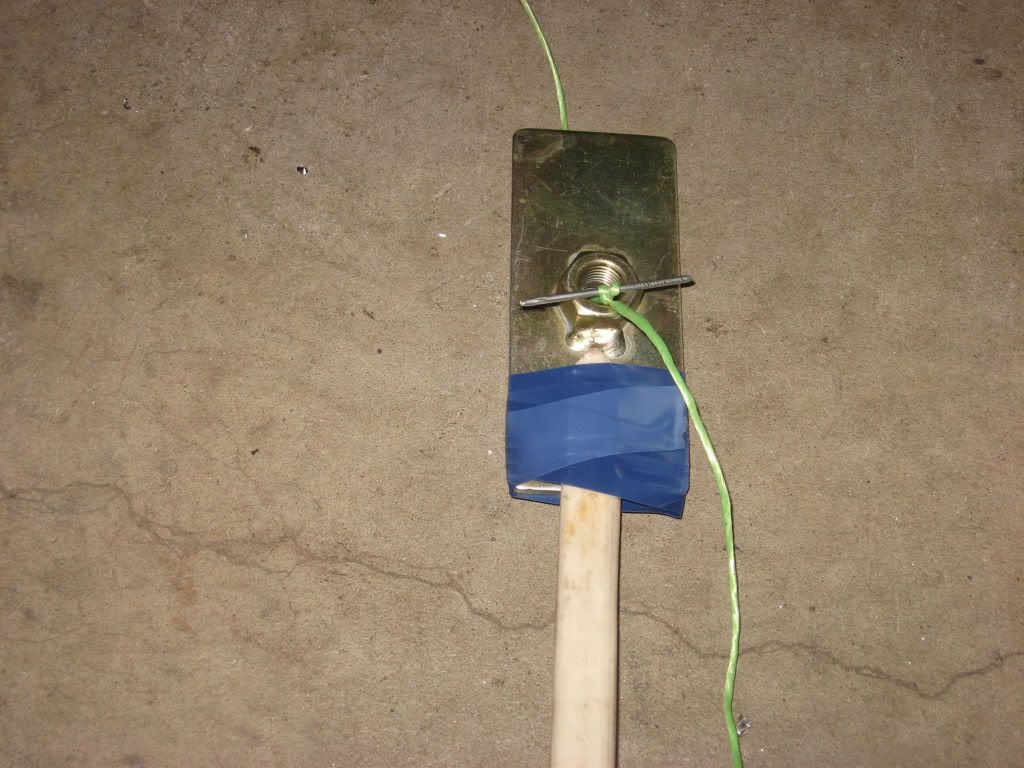
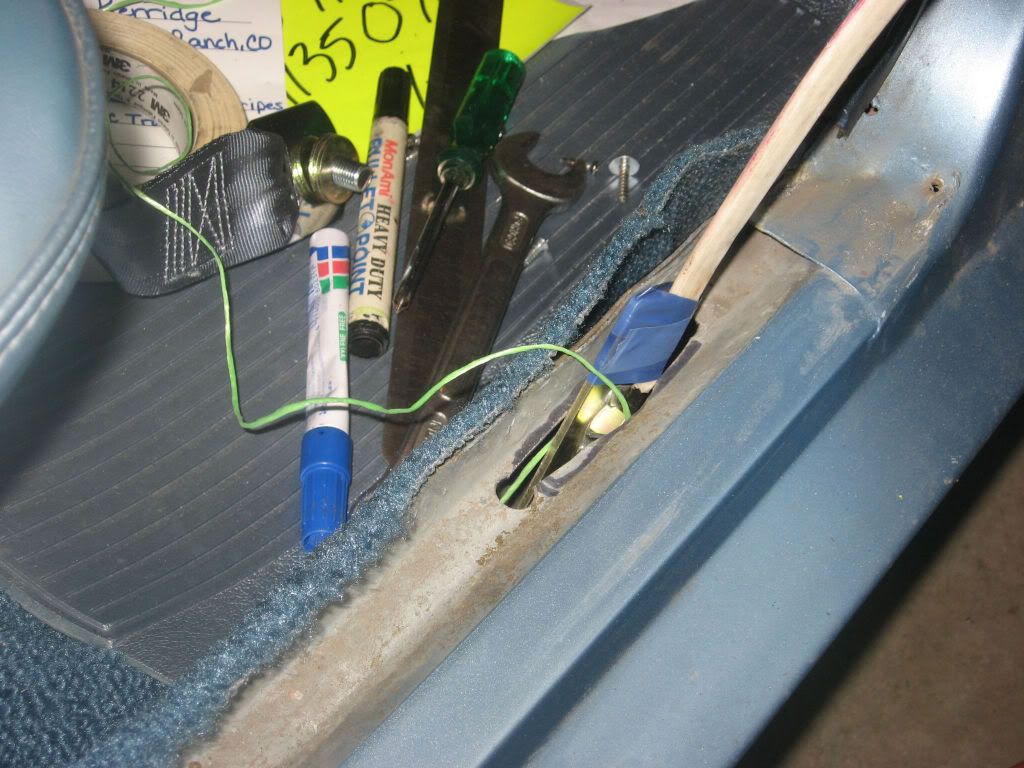
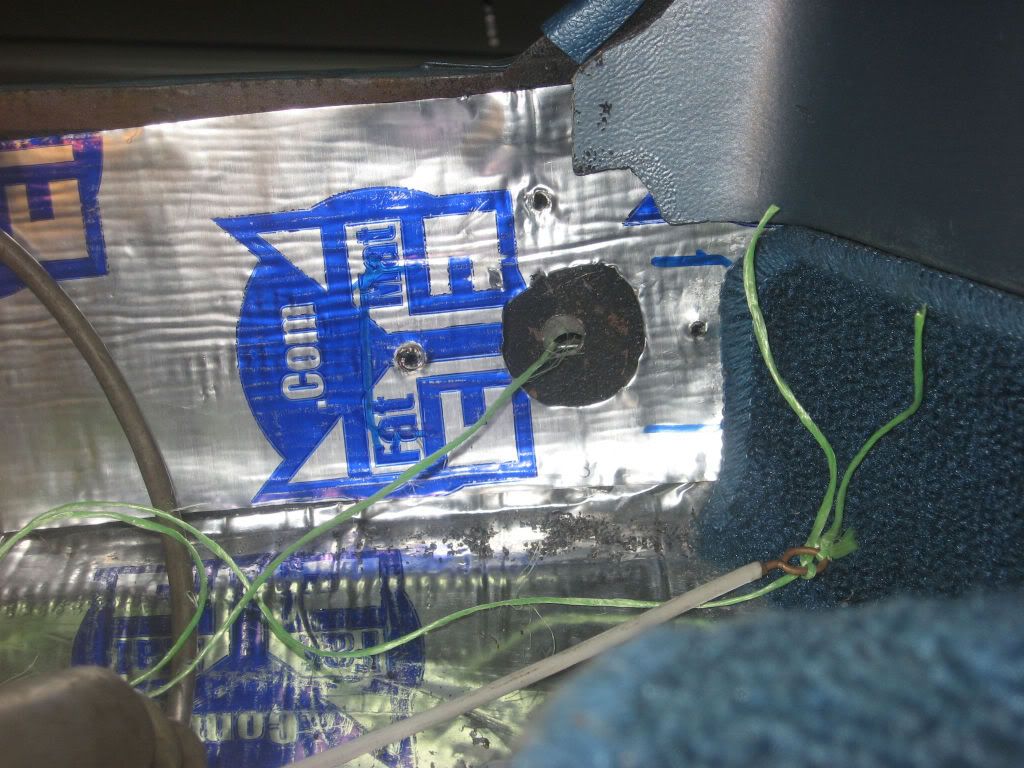
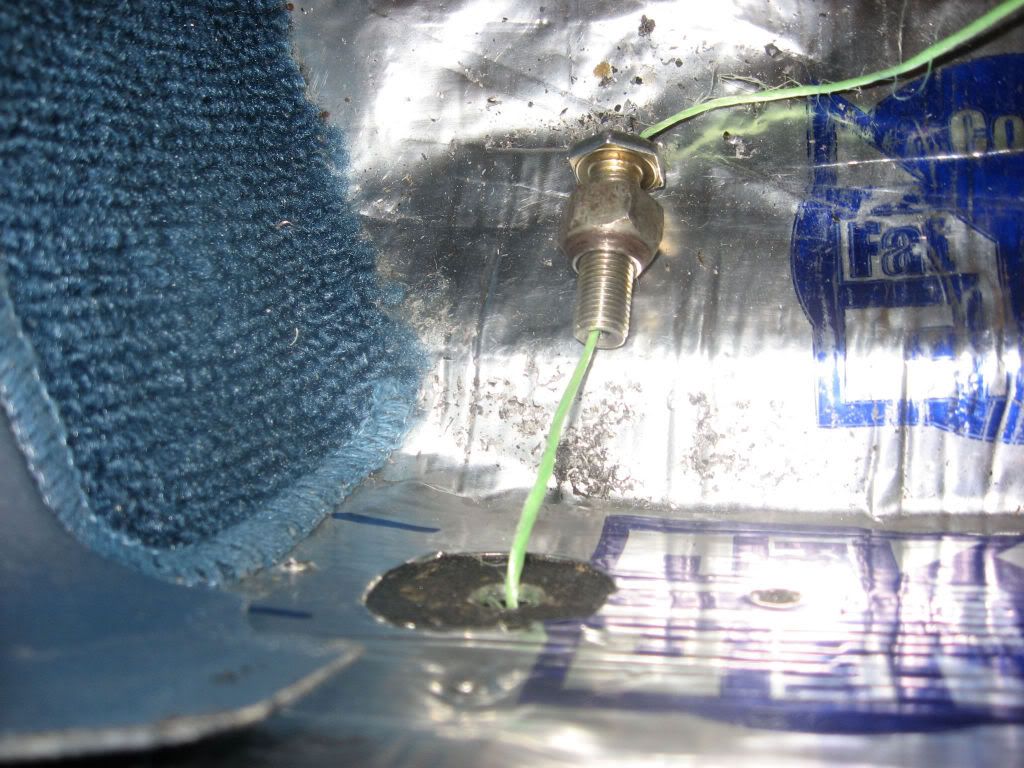
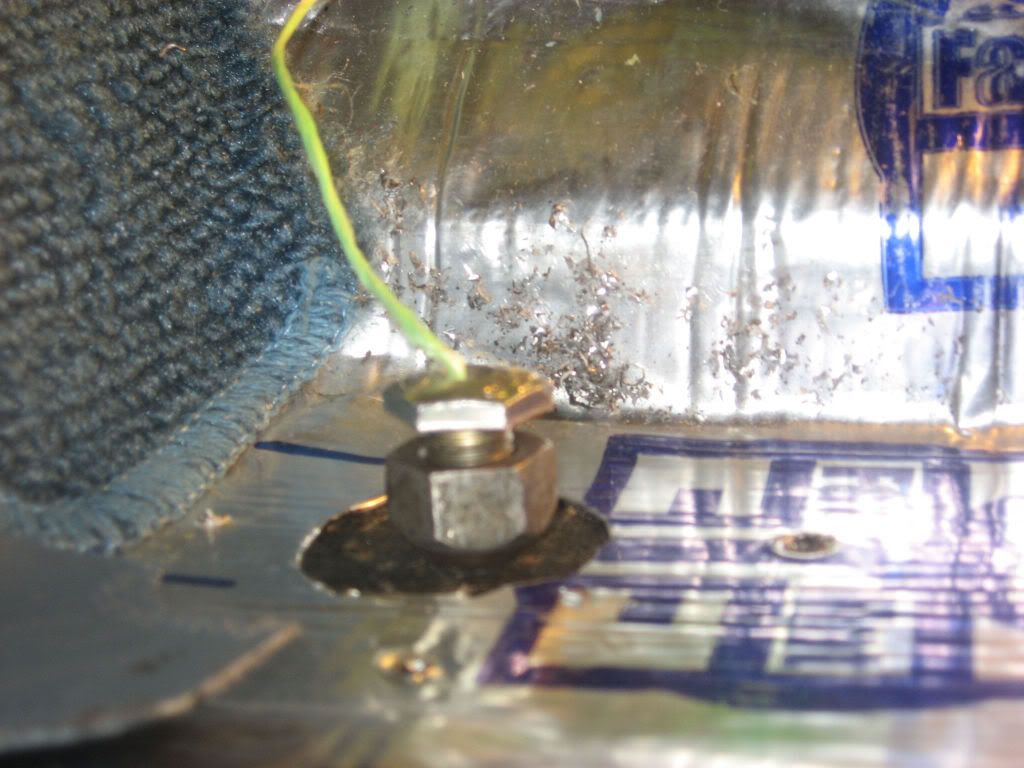
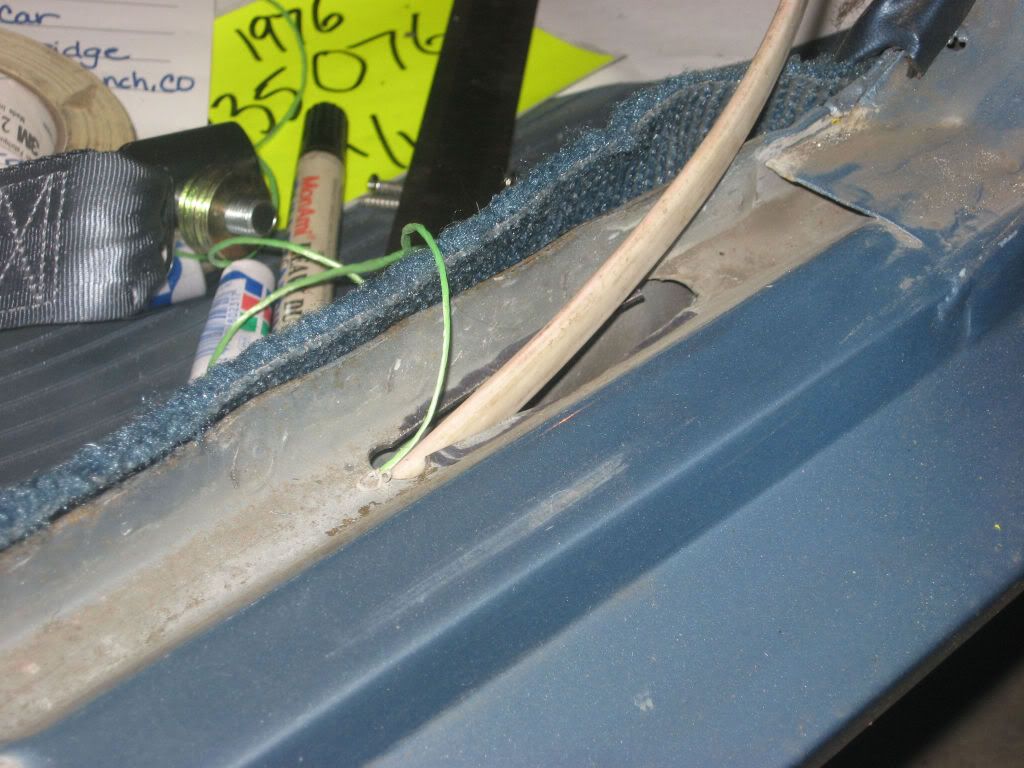
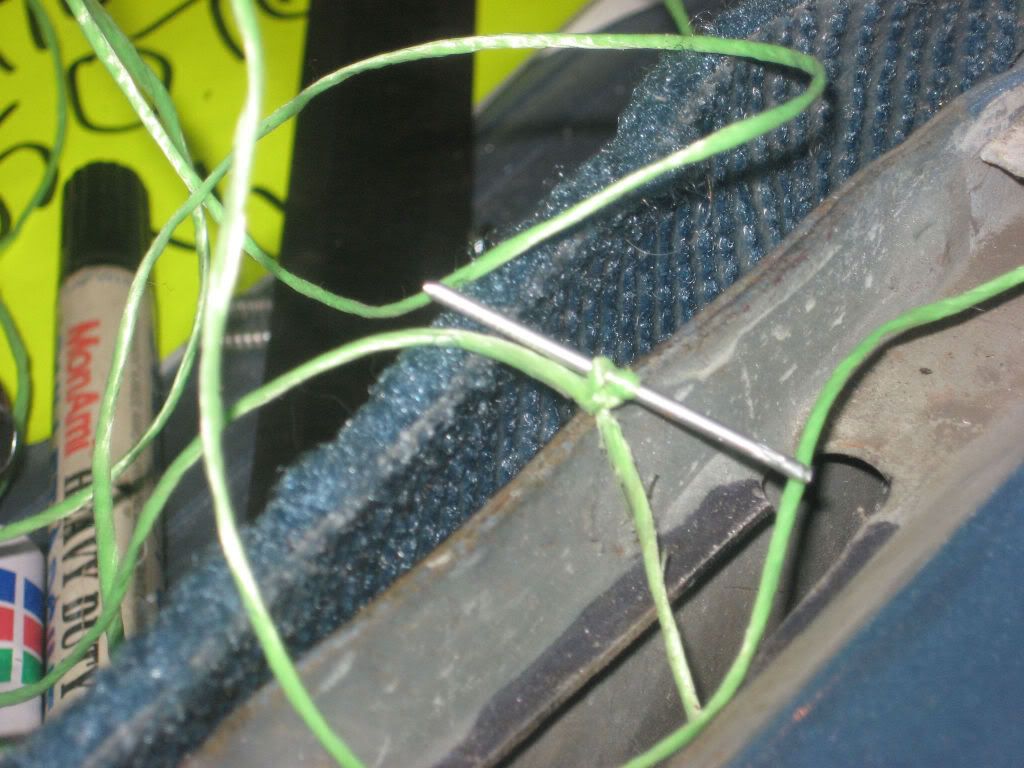
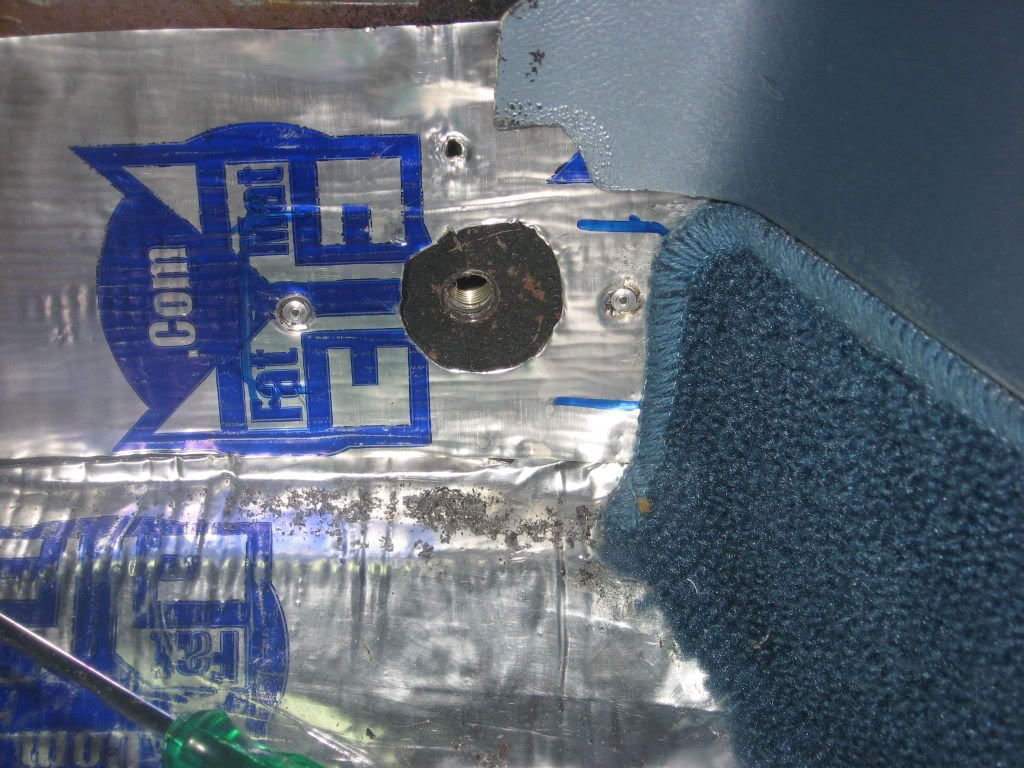
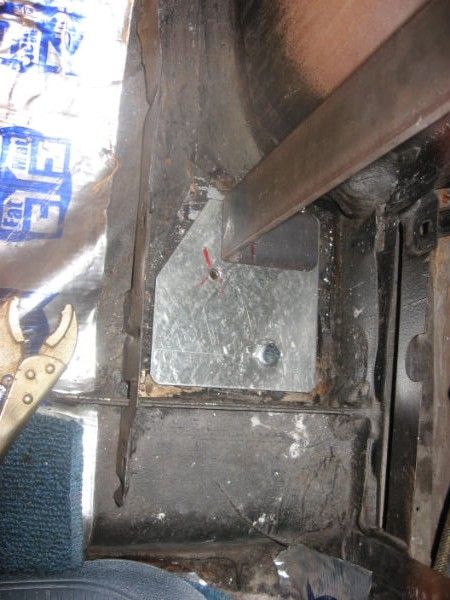
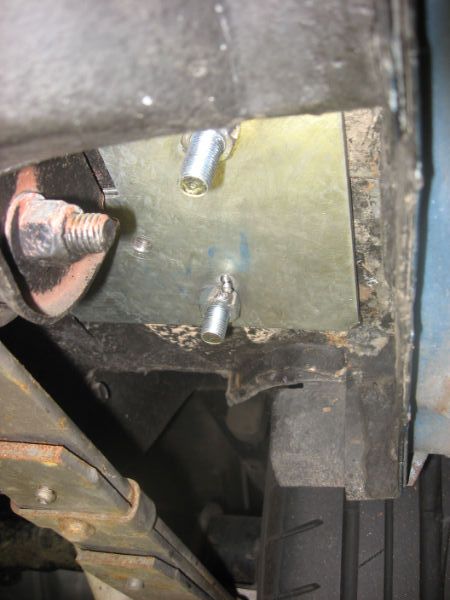
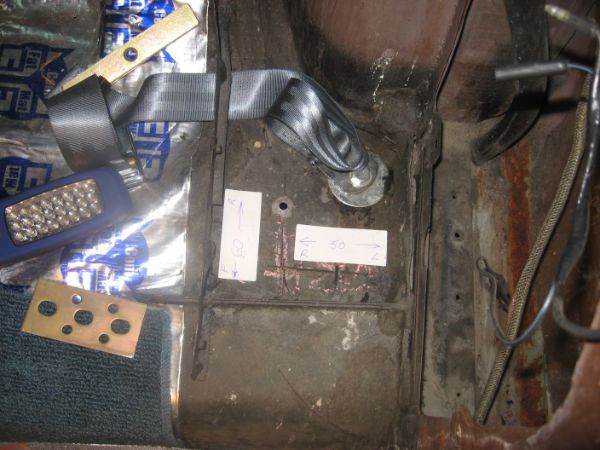
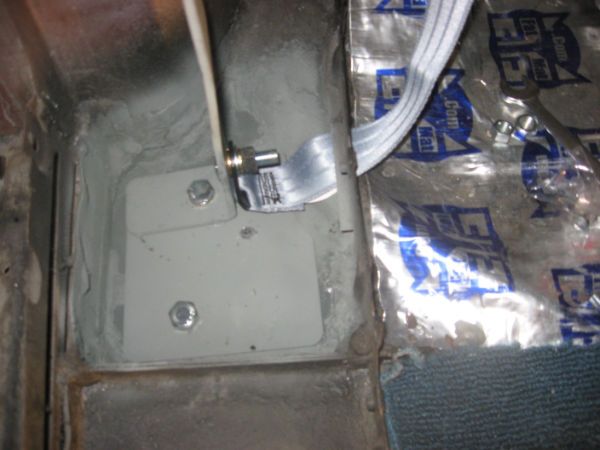
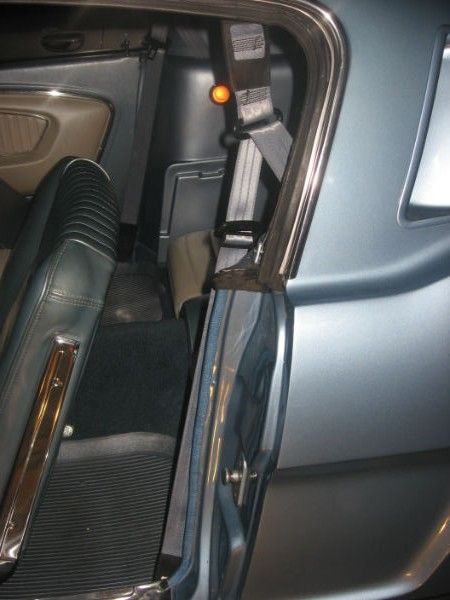
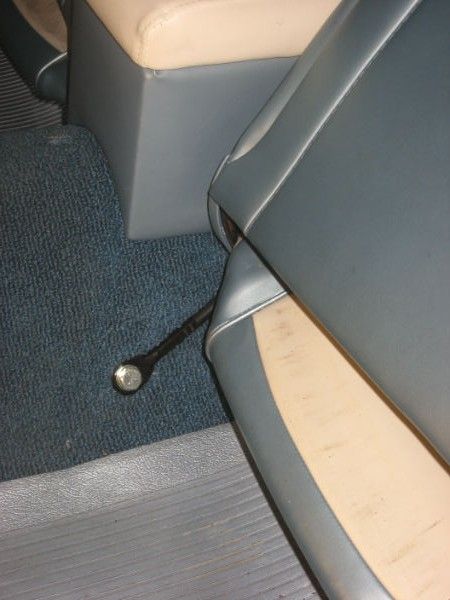
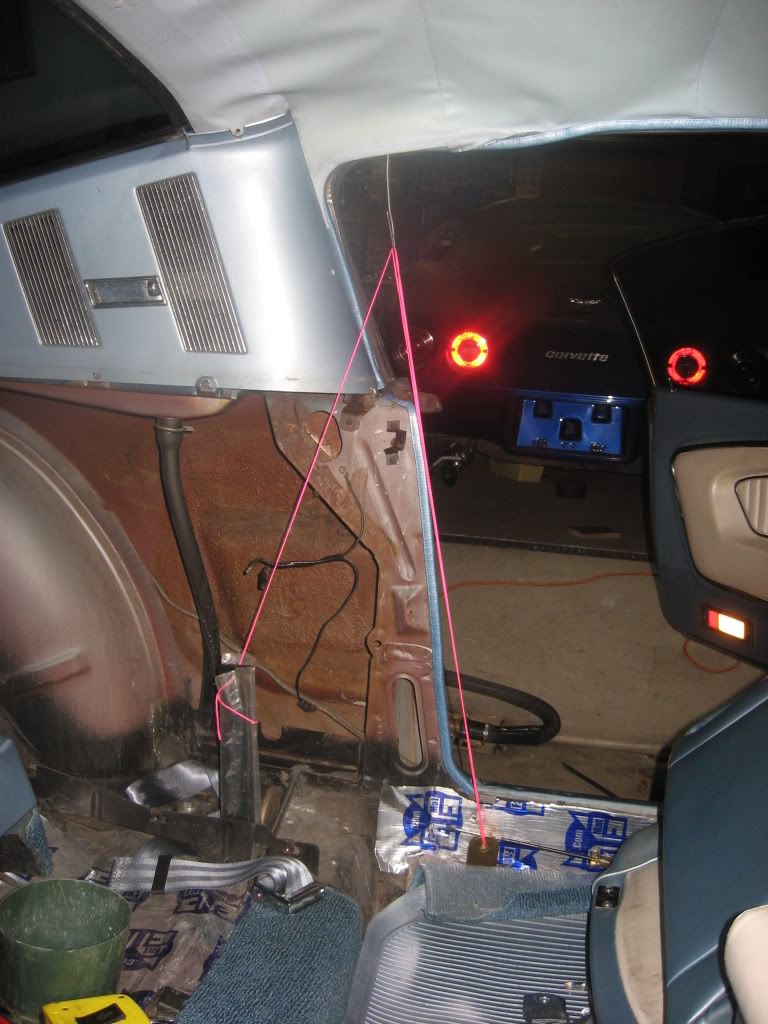
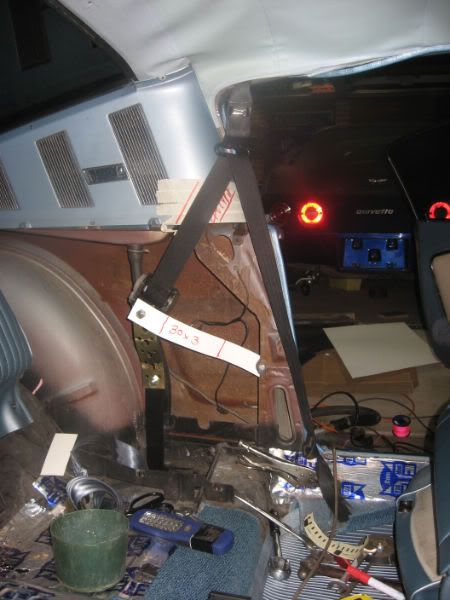
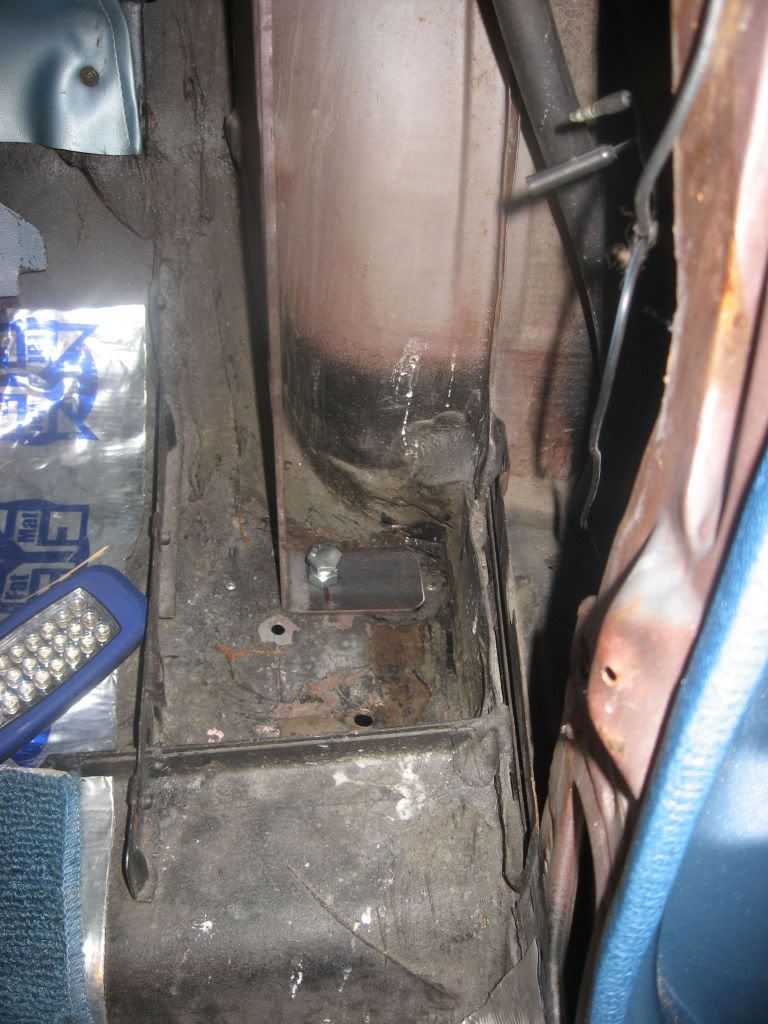
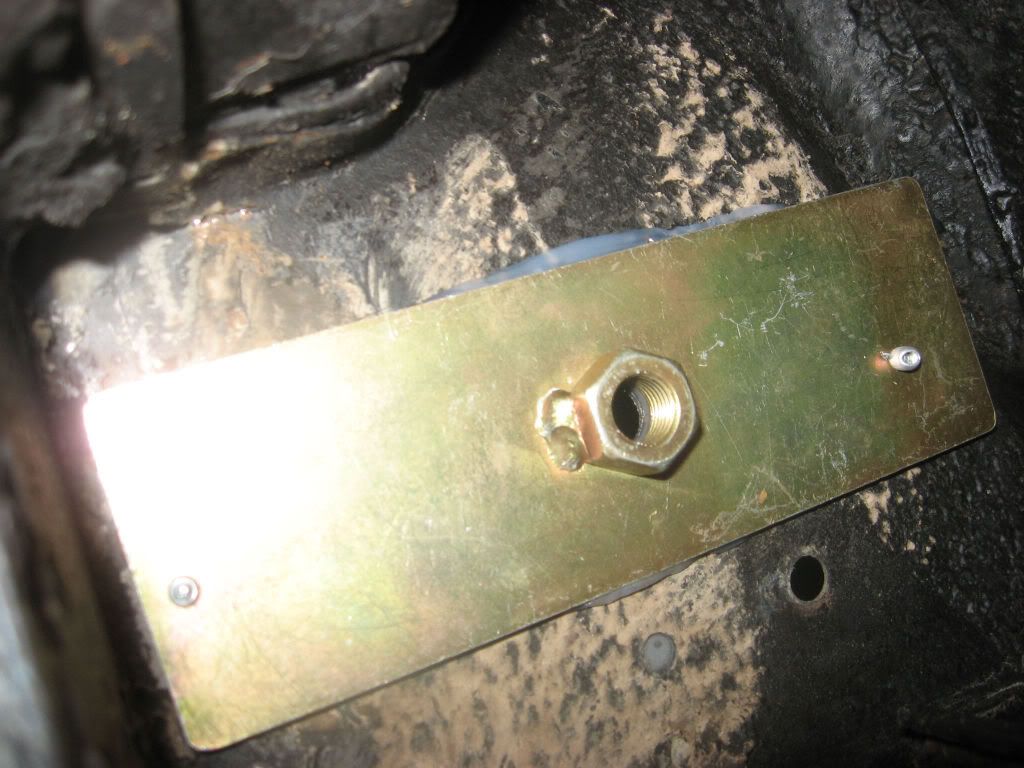
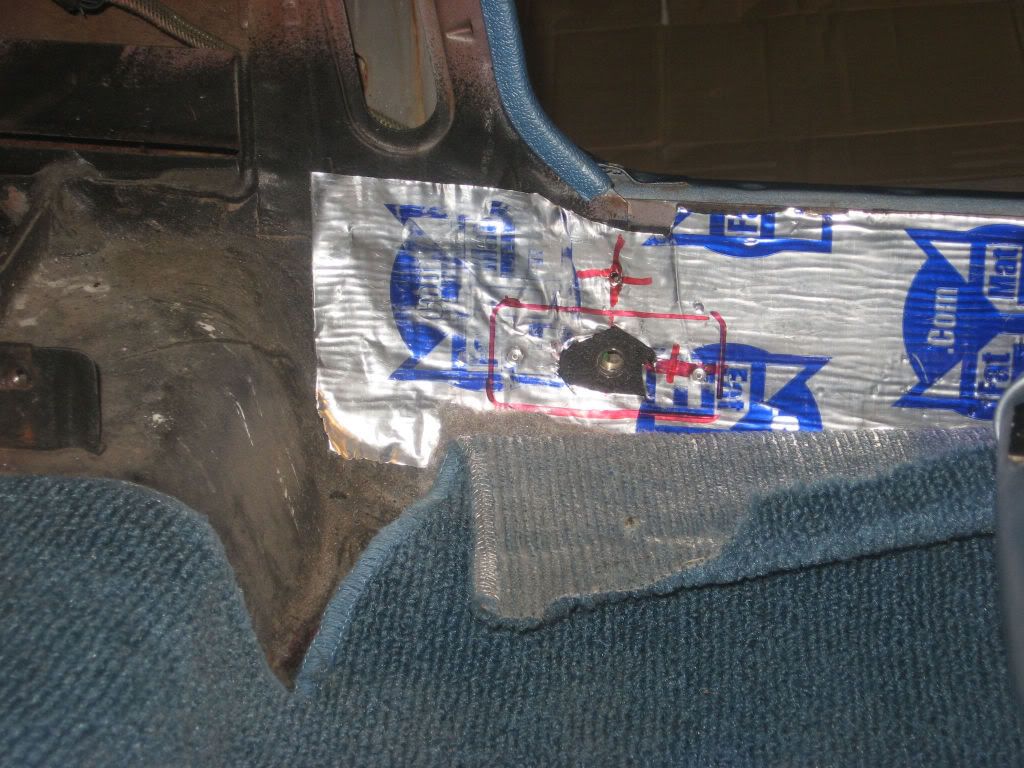
I've just forwarded this ^ comment to him, as well as your previous one, after you posted it..ozbilt wrote:I bolted the unit to the torque box as it is a structural box made of thicker steel. I used a long drill & went through both sides of the box & then used a hole saw on the underside to provide access for a socket to tighten the nut.
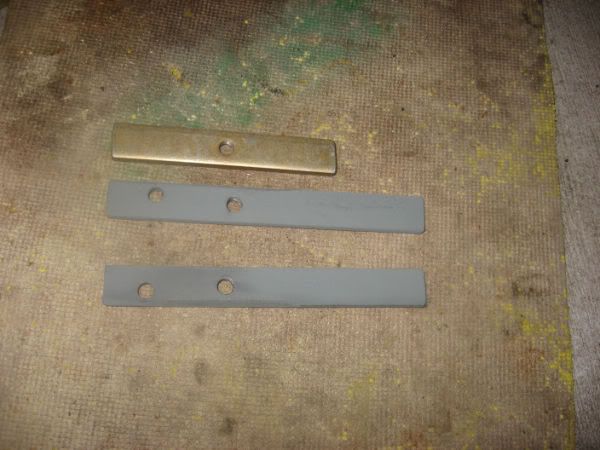
You will also find that directly behind that torque box, there is a thick plate that can act as a sandwich to the floor.